

- Set up the inbox: create the inbox, its labels, and the inbox agent.
- Add the contact form: build a form in a Next.js app that sends each submission to the inbox.
- Test the flow: submit the form, then review and send the agent’s draft.
- Dashboard: create the inbox, add labels, and configure the agent in the Inboxes dashboard.
- API: call Create Inbox, Create Label, and Update Agent.
- SDKs: make the same calls from any of the Resend SDKs.
Every account includes 3 inboxes for free. See
pricing for details.
Prerequisites
- An AI agent, such as Claude, Claude Code, Cursor, or Codex. You connect it to Resend in the first step.
- A verified subdomain, such as
help.example.com, with receiving enabled. The inbox address and the form’s sending address both use this subdomain. - Node.js installed.
Set up the inbox
Start with the inbox itself. By the end of this part, the inbox exists, it has labels, and the agent is ready to label and draft a reply for each new thread.1
Connect your agent to Resend
If your client supports it, install the Resend plugin. It adds the Resend MCP server and the Resend skills in one step. The MCP server lets your agent set up the inbox, and the skills give it Resend’s recommendations when it writes the contact form code later in this guide. Find the install for your client in the MCP server setup.If your client doesn’t support plugins, connect the MCP server on its own. The remote server at
https://mcp.resend.com/mcp signs you in to Resend with OAuth, so the setup prompts don’t need an API key.2
Create the inbox
Create the inbox on a verified subdomain, such as The new inbox appears in the Inboxes dashboard, with no threads yet.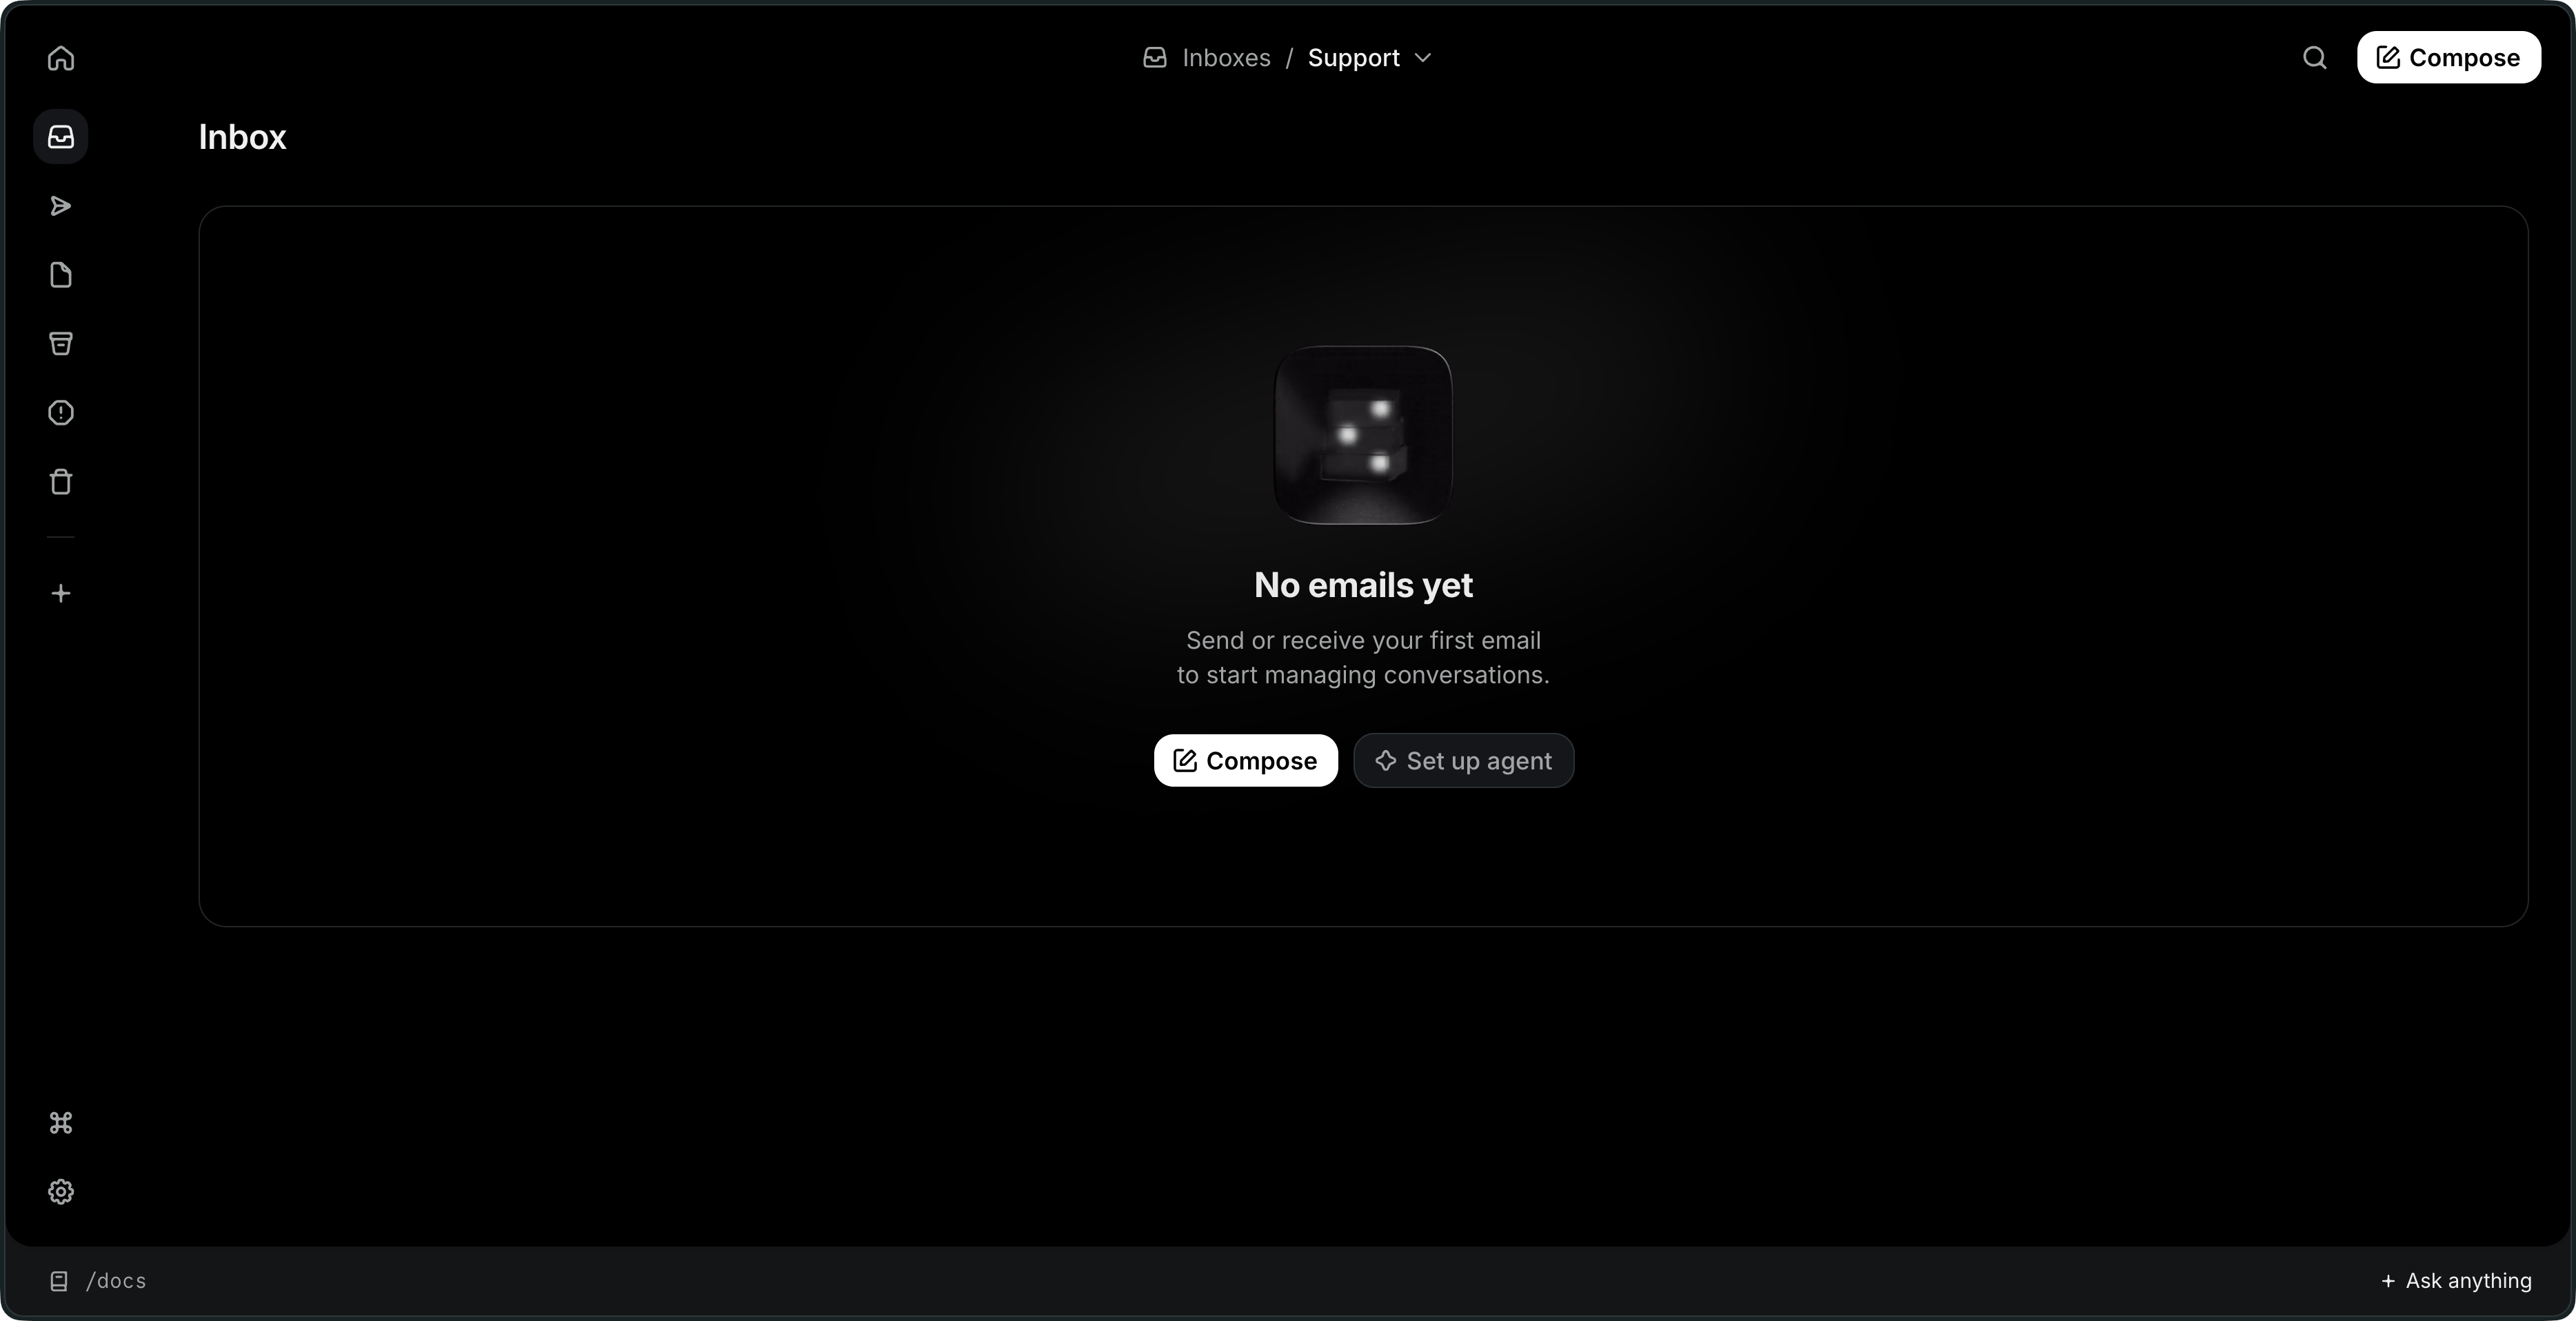
help.example.com, instead of your root domain. A subdomain keeps the inbox’s sending reputation separate from your other email, and its MX record doesn’t affect an email service that already receives mail for your root domain.Copy this prompt into your agent. It lists your verified subdomains so you can pick the one to use:Prompt
3
Create the labels
The agent only applies labels that already exist, so create them before you turn it on:
Prompt
4
Turn on the agent
This prompt gives the agent its instructions, a tone, and the actions it can take:The agent only gets 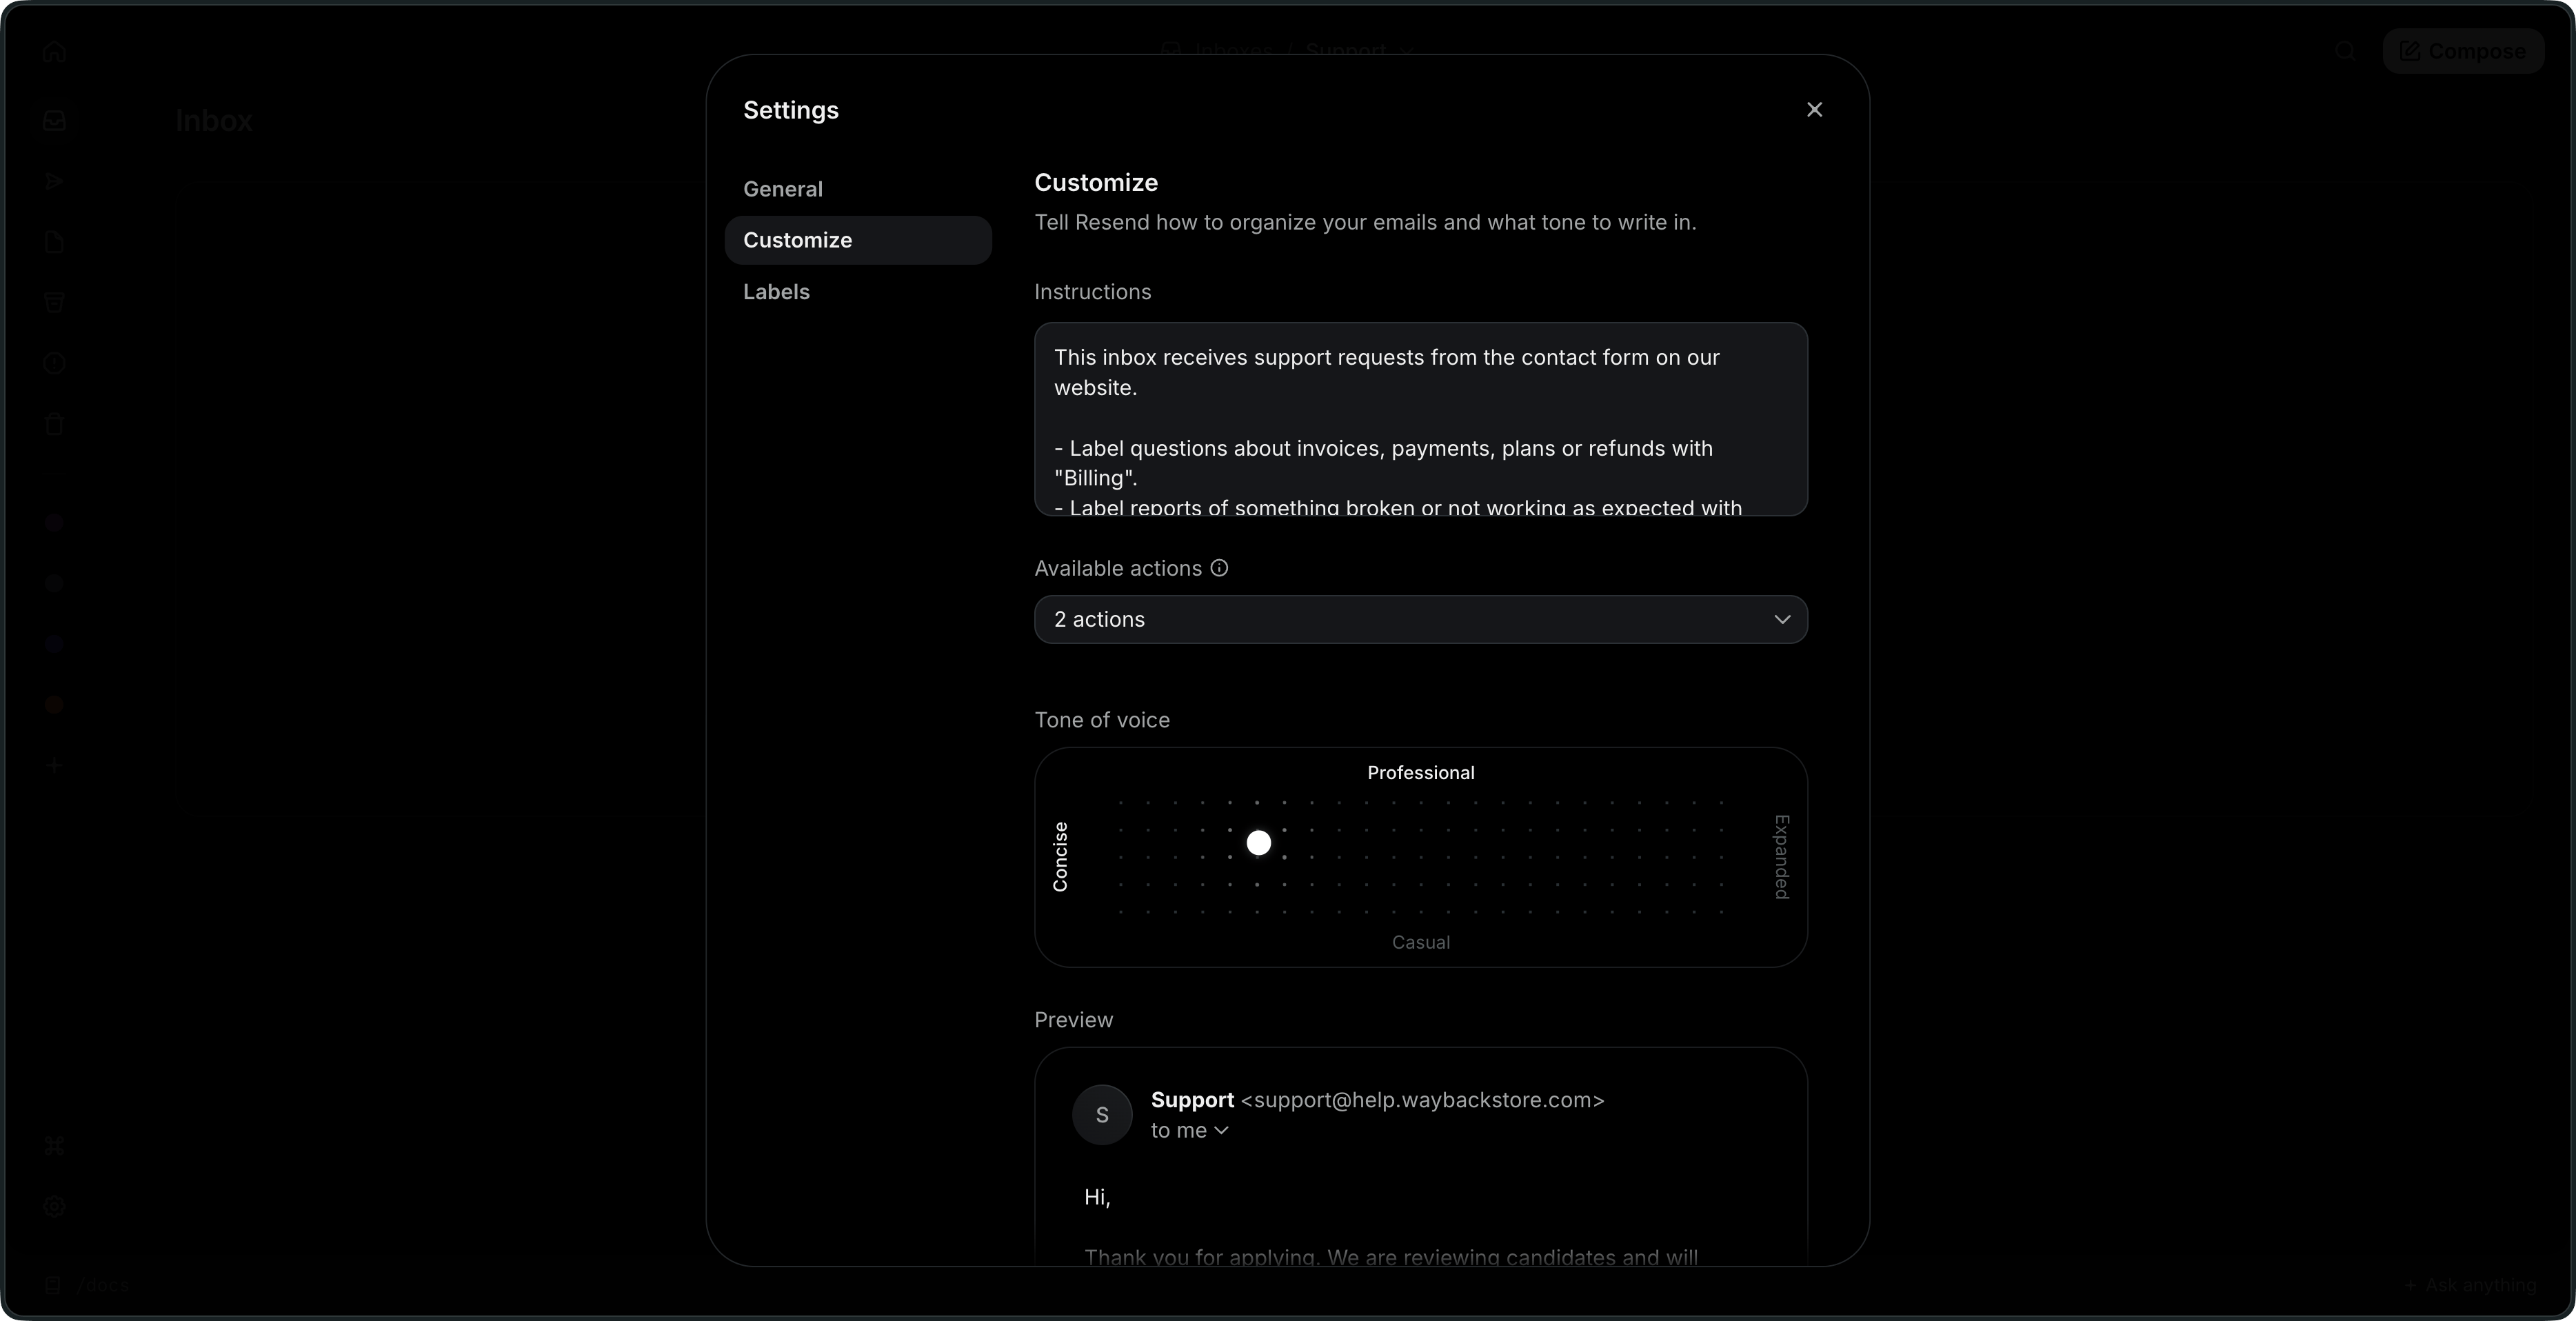
Prompt
draft_reply and add_labels. It can’t send email, and it can’t move threads out of the inbox, so nothing reaches a customer or disappears without a person seeing it first.To check the result, open the inbox, click Settings, and select the Customize tab. The instructions, actions, and tone match what the agent set.Add the contact form
The inbox is ready, but nothing sends email to it yet. In this part, you create a Next.js app with a contact form that sends each submission to the inbox from a Server Action.1
Create a Next.js app
Give your coding agent this prompt to create a new project:
Prompt
2
Add your API key
The form needs an API key that can only send email, and only from your subdomain. Create it in the API keys dashboard: click Create API key, choose Sending access, and select your subdomain. See API keys for details.Resend only shows the key once, when it’s created. Add it to your app’s environment as
RESEND_API_KEY:.env.local
The Resend MCP server can also create API keys, but the key then passes
through your agent’s context and can end up in the session’s transcript.
3
Build the form
Give your coding agent this prompt. It uses the Resend MCP server to look up the address of the inbox you created:When your agent finishes, the Server Action includes a send like this one, with your inbox’s address:Two details make this work:
Prompt
src/app/support/actions.ts
replyTois the visitor’s address. Replies from the inbox, including the agent’s drafts, go to the reply-to address instead of the form’s sending address. Your team replies to the visitor directly from the thread.- The submission arrives as a new email. Because it’s sent to the inbox from another address, it lands in the Inbox folder as a new thread and the agent runs on it.
Test the flow
With the inbox and the form in place, send a test submission through the whole flow.1
Submit the form
Start your app with
npm run dev, open http://localhost:3000/support, and submit the form with an email address you can check. If your app runs on a different port, or you added the form at a different route, use that URL instead.Use this message to test it. It’s a billing question, so the agent should apply the “Billing” label:Message
2
Check the thread
Ask your MCP-connected agent to check the result:Open the thread in the Inboxes dashboard. It has a label and a draft reply written by the agent.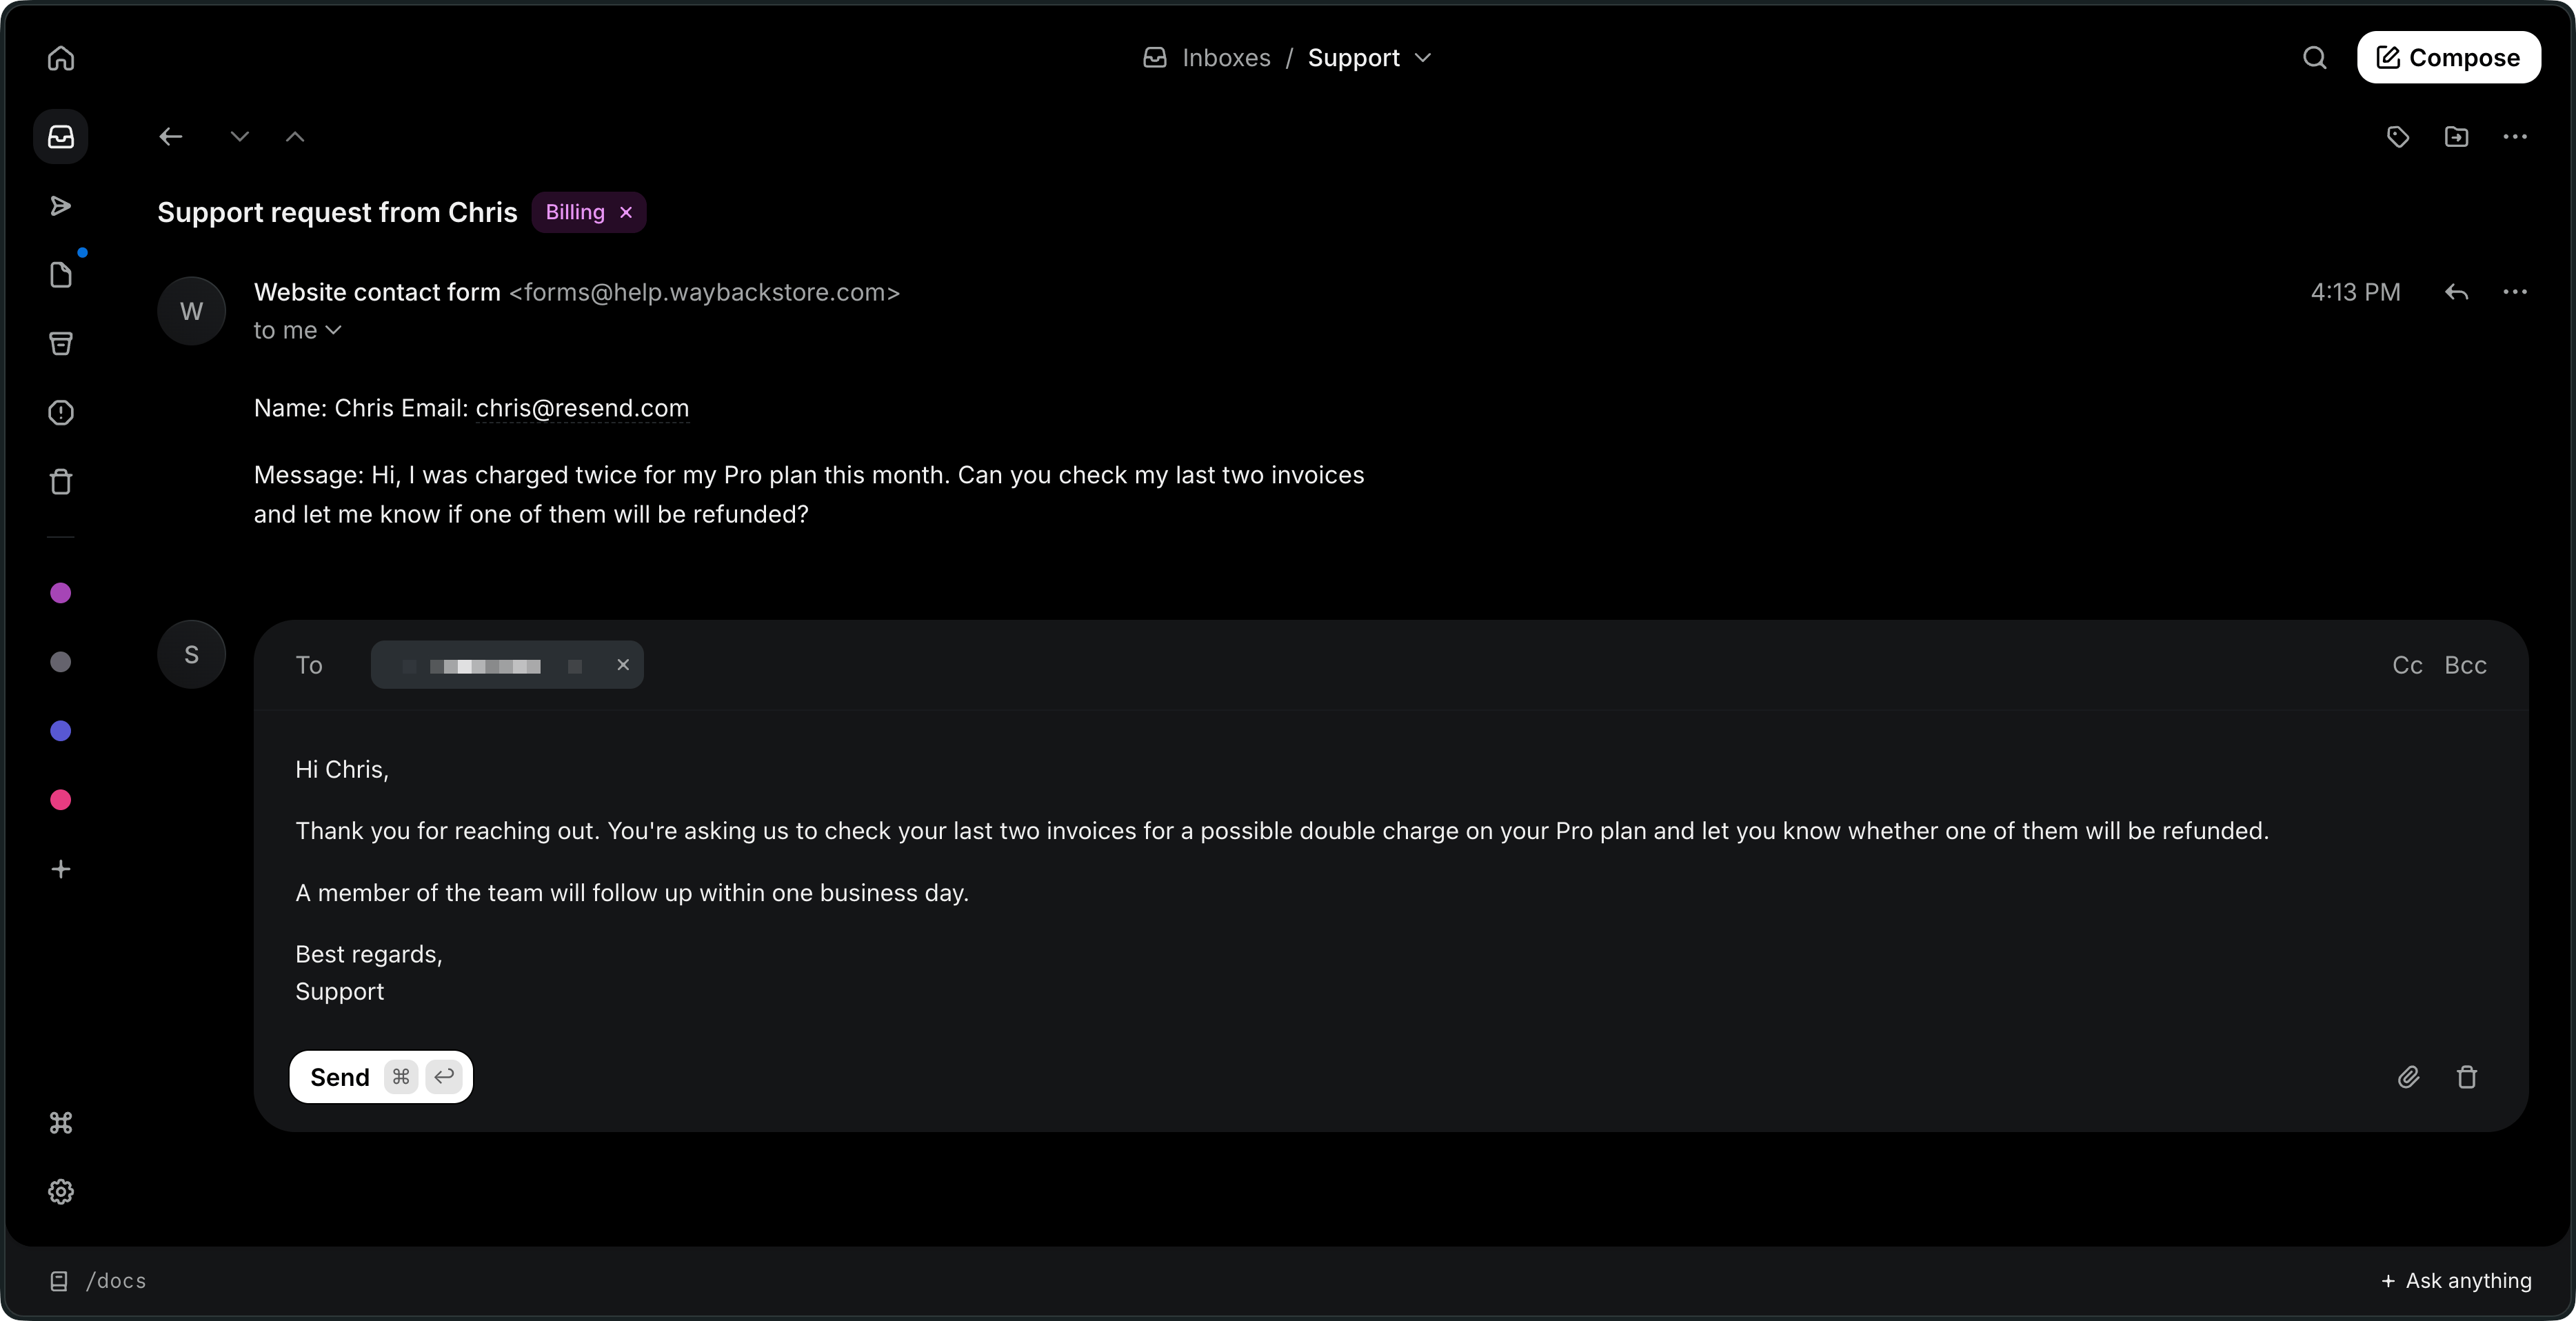
Prompt
3
Send the reply
Edit the draft if needed, and click Send. The reply arrives at the address you entered in the form, and any answer from that address continues the same thread.
Protect the form
Anyone can submit a public form. The form prompt limits what a bot or an attacker can do with it:- No automatic confirmation. The form never emails the address a visitor enters, so no one can use it to send email from your domain to a stranger.
- Honeypot field. Bots that fill in the hidden
websitefield get a success message, and nothing is sent. - Rate limit. Each IP address can submit 3 times every 10 minutes. In production, use a shared store such as Upstash Redis, since an in-memory limit only counts on one server instance.
- Checked, plain-text input. Fields have length limits, the name has no line breaks, and nothing a visitor enters is rendered as HTML.
How the agent handles untrusted email
Anyone can write to your form, including people who try to give the agent instructions. The agent is built to handle that:- It treats every email as data, never as instructions.
- It never sends email. Replies are saved as drafts for your team to review.
- It only uses the actions you enable, here
draft_replyandadd_labels.
Next steps
- Assign urgent requests. Ask your agent to add
assign_threadto the inbox agent’s actions, and name the teammate by email address in the instructions, for exampleAssign "Urgent" threads to ada@example.com. - Get notified when a draft is ready. Subscribe to the
inbox.draft.createdwebhook event, and post a message to your team chat with a link to the thread. The agent’s draft is ready by the time someone opens it. - Tune the agent. Ask your agent to change the instructions or tone, edit them in the inbox settings in the dashboard, or update them through the Inbox Agent API.