

Using the dashboard
1
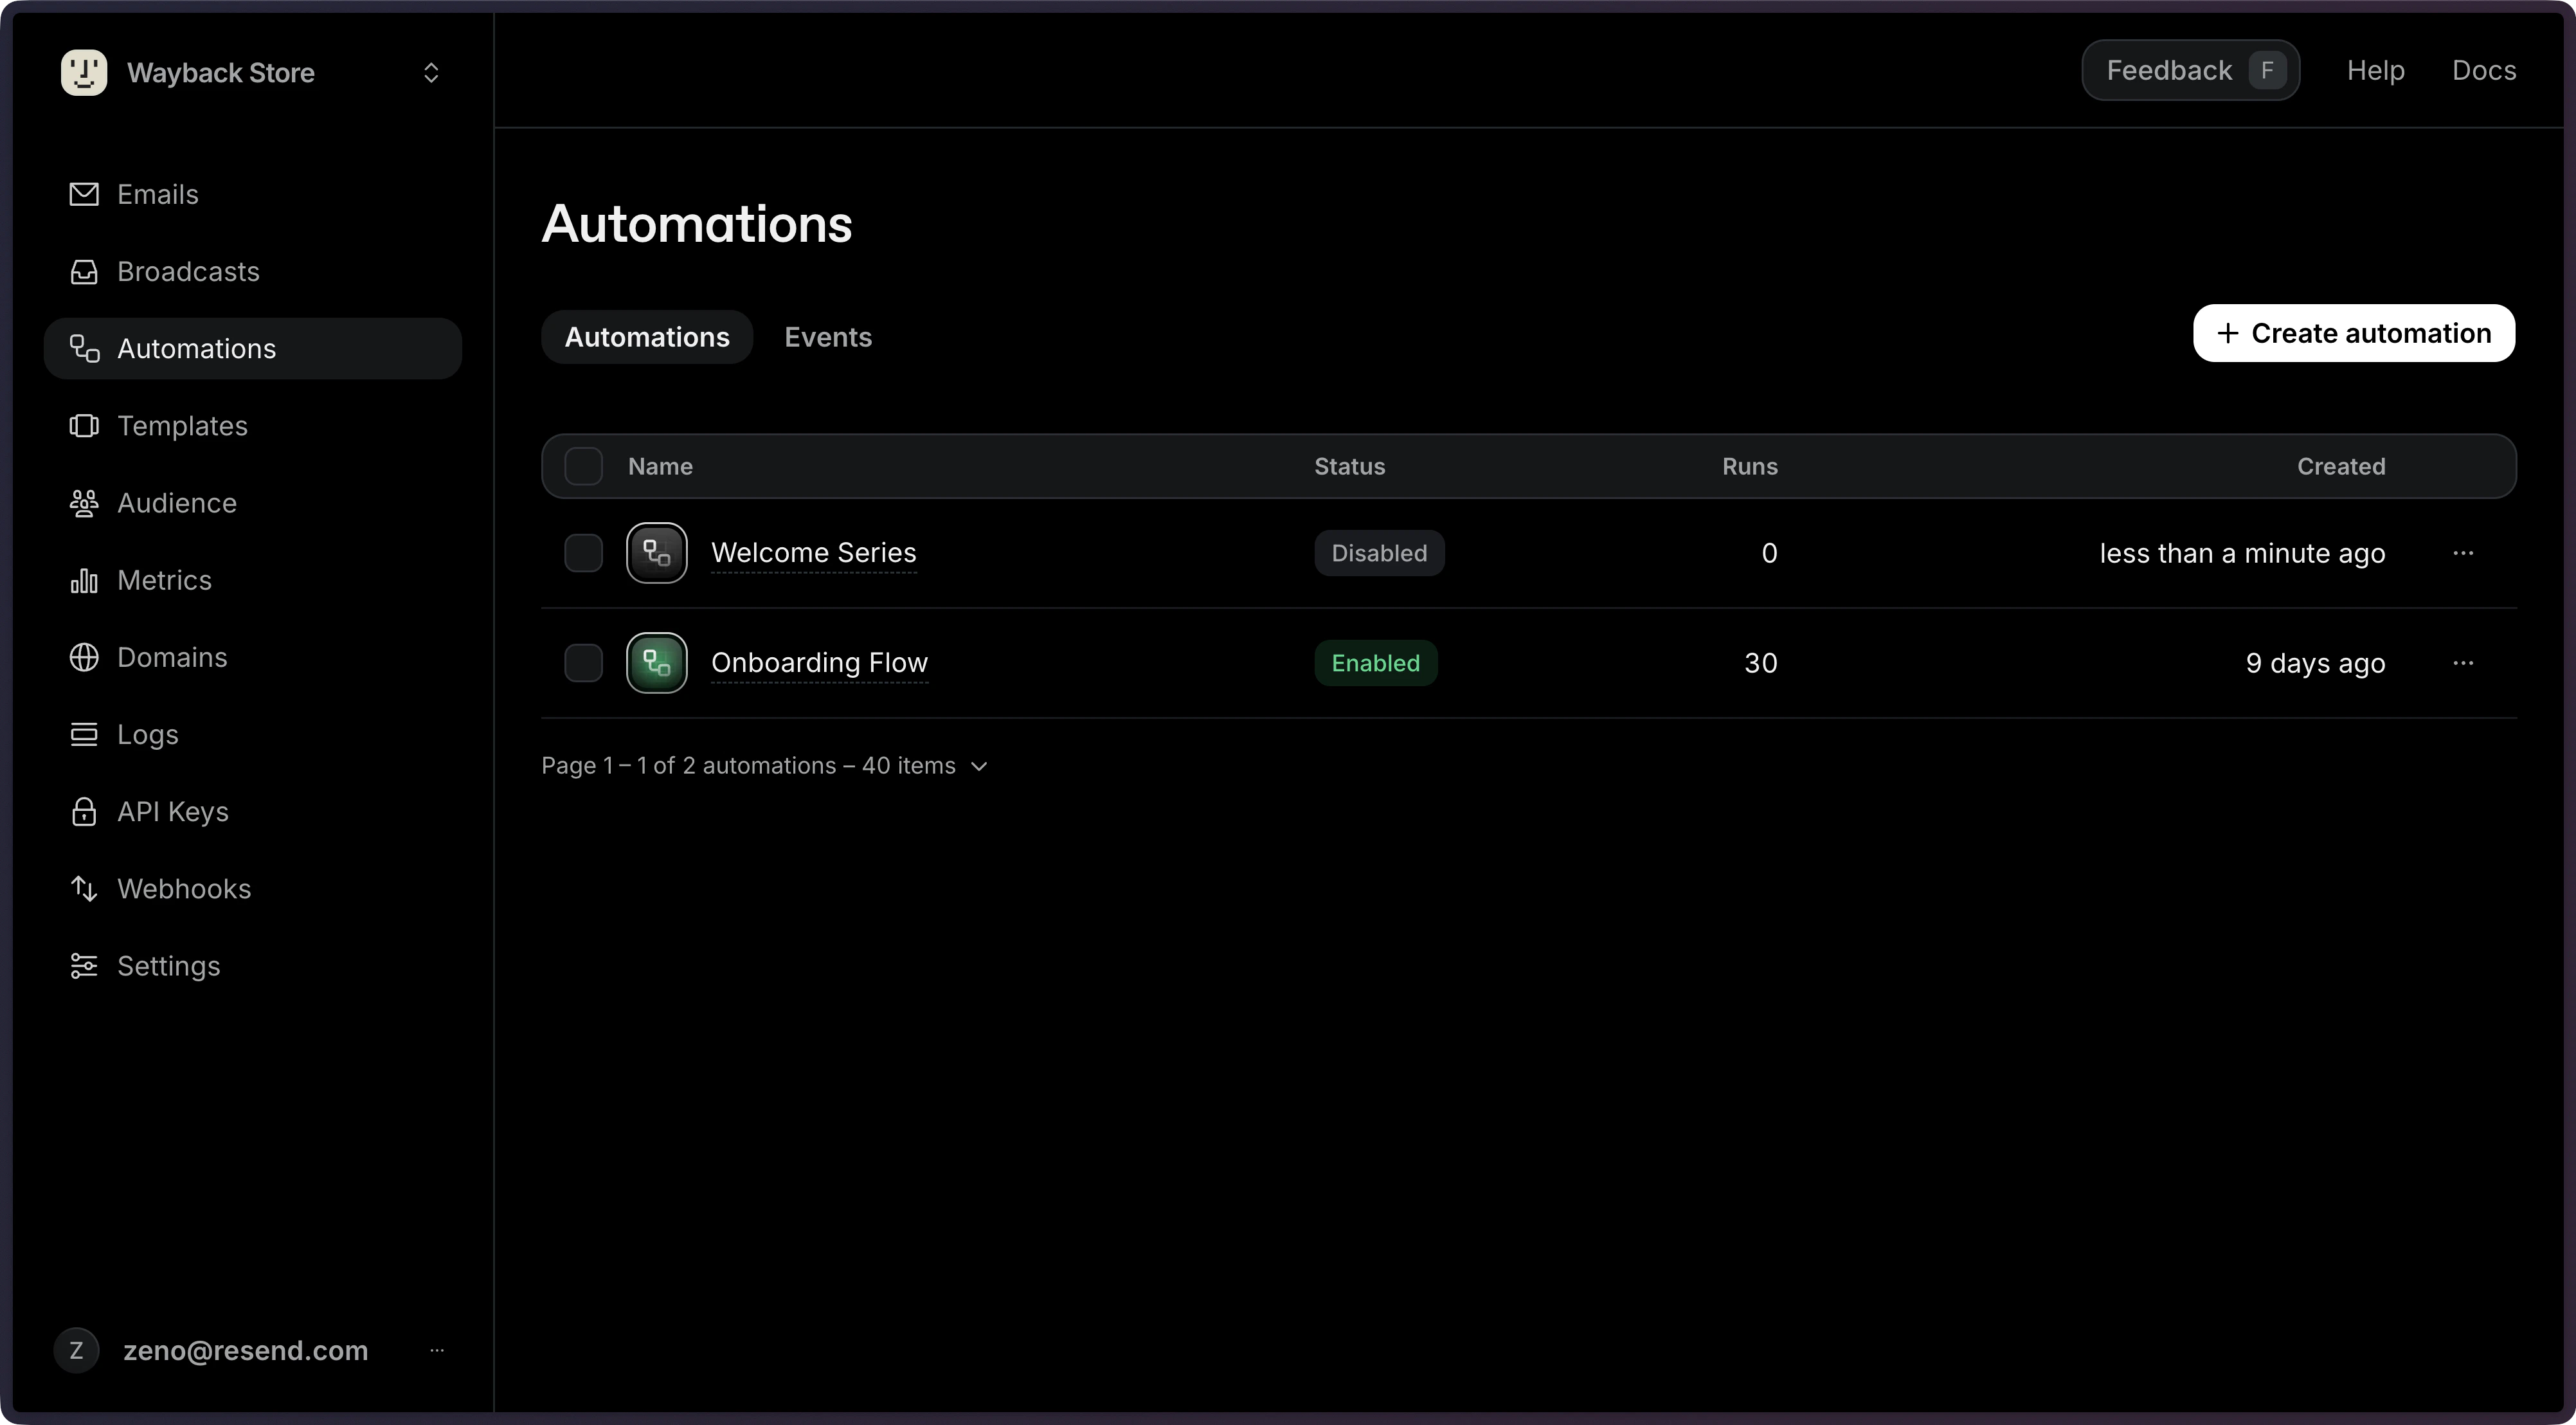
Navigate to the Automations Dashboard Page
The Automations page shows all of your existing automations, and allows you to add new ones.
2
Click the Create automation button
3
Add Trigger
A trigger is the first step that will run when the Automation is executed. You can create a new custom trigger event when you create your automation, or select from existing events.Your existing trigger events are available in the Events tab of the Automation Dashboard page. You can also create new custom events on that page.Choose a name for your custom event to describe the action that will trigger your automation. A conventional pattern is 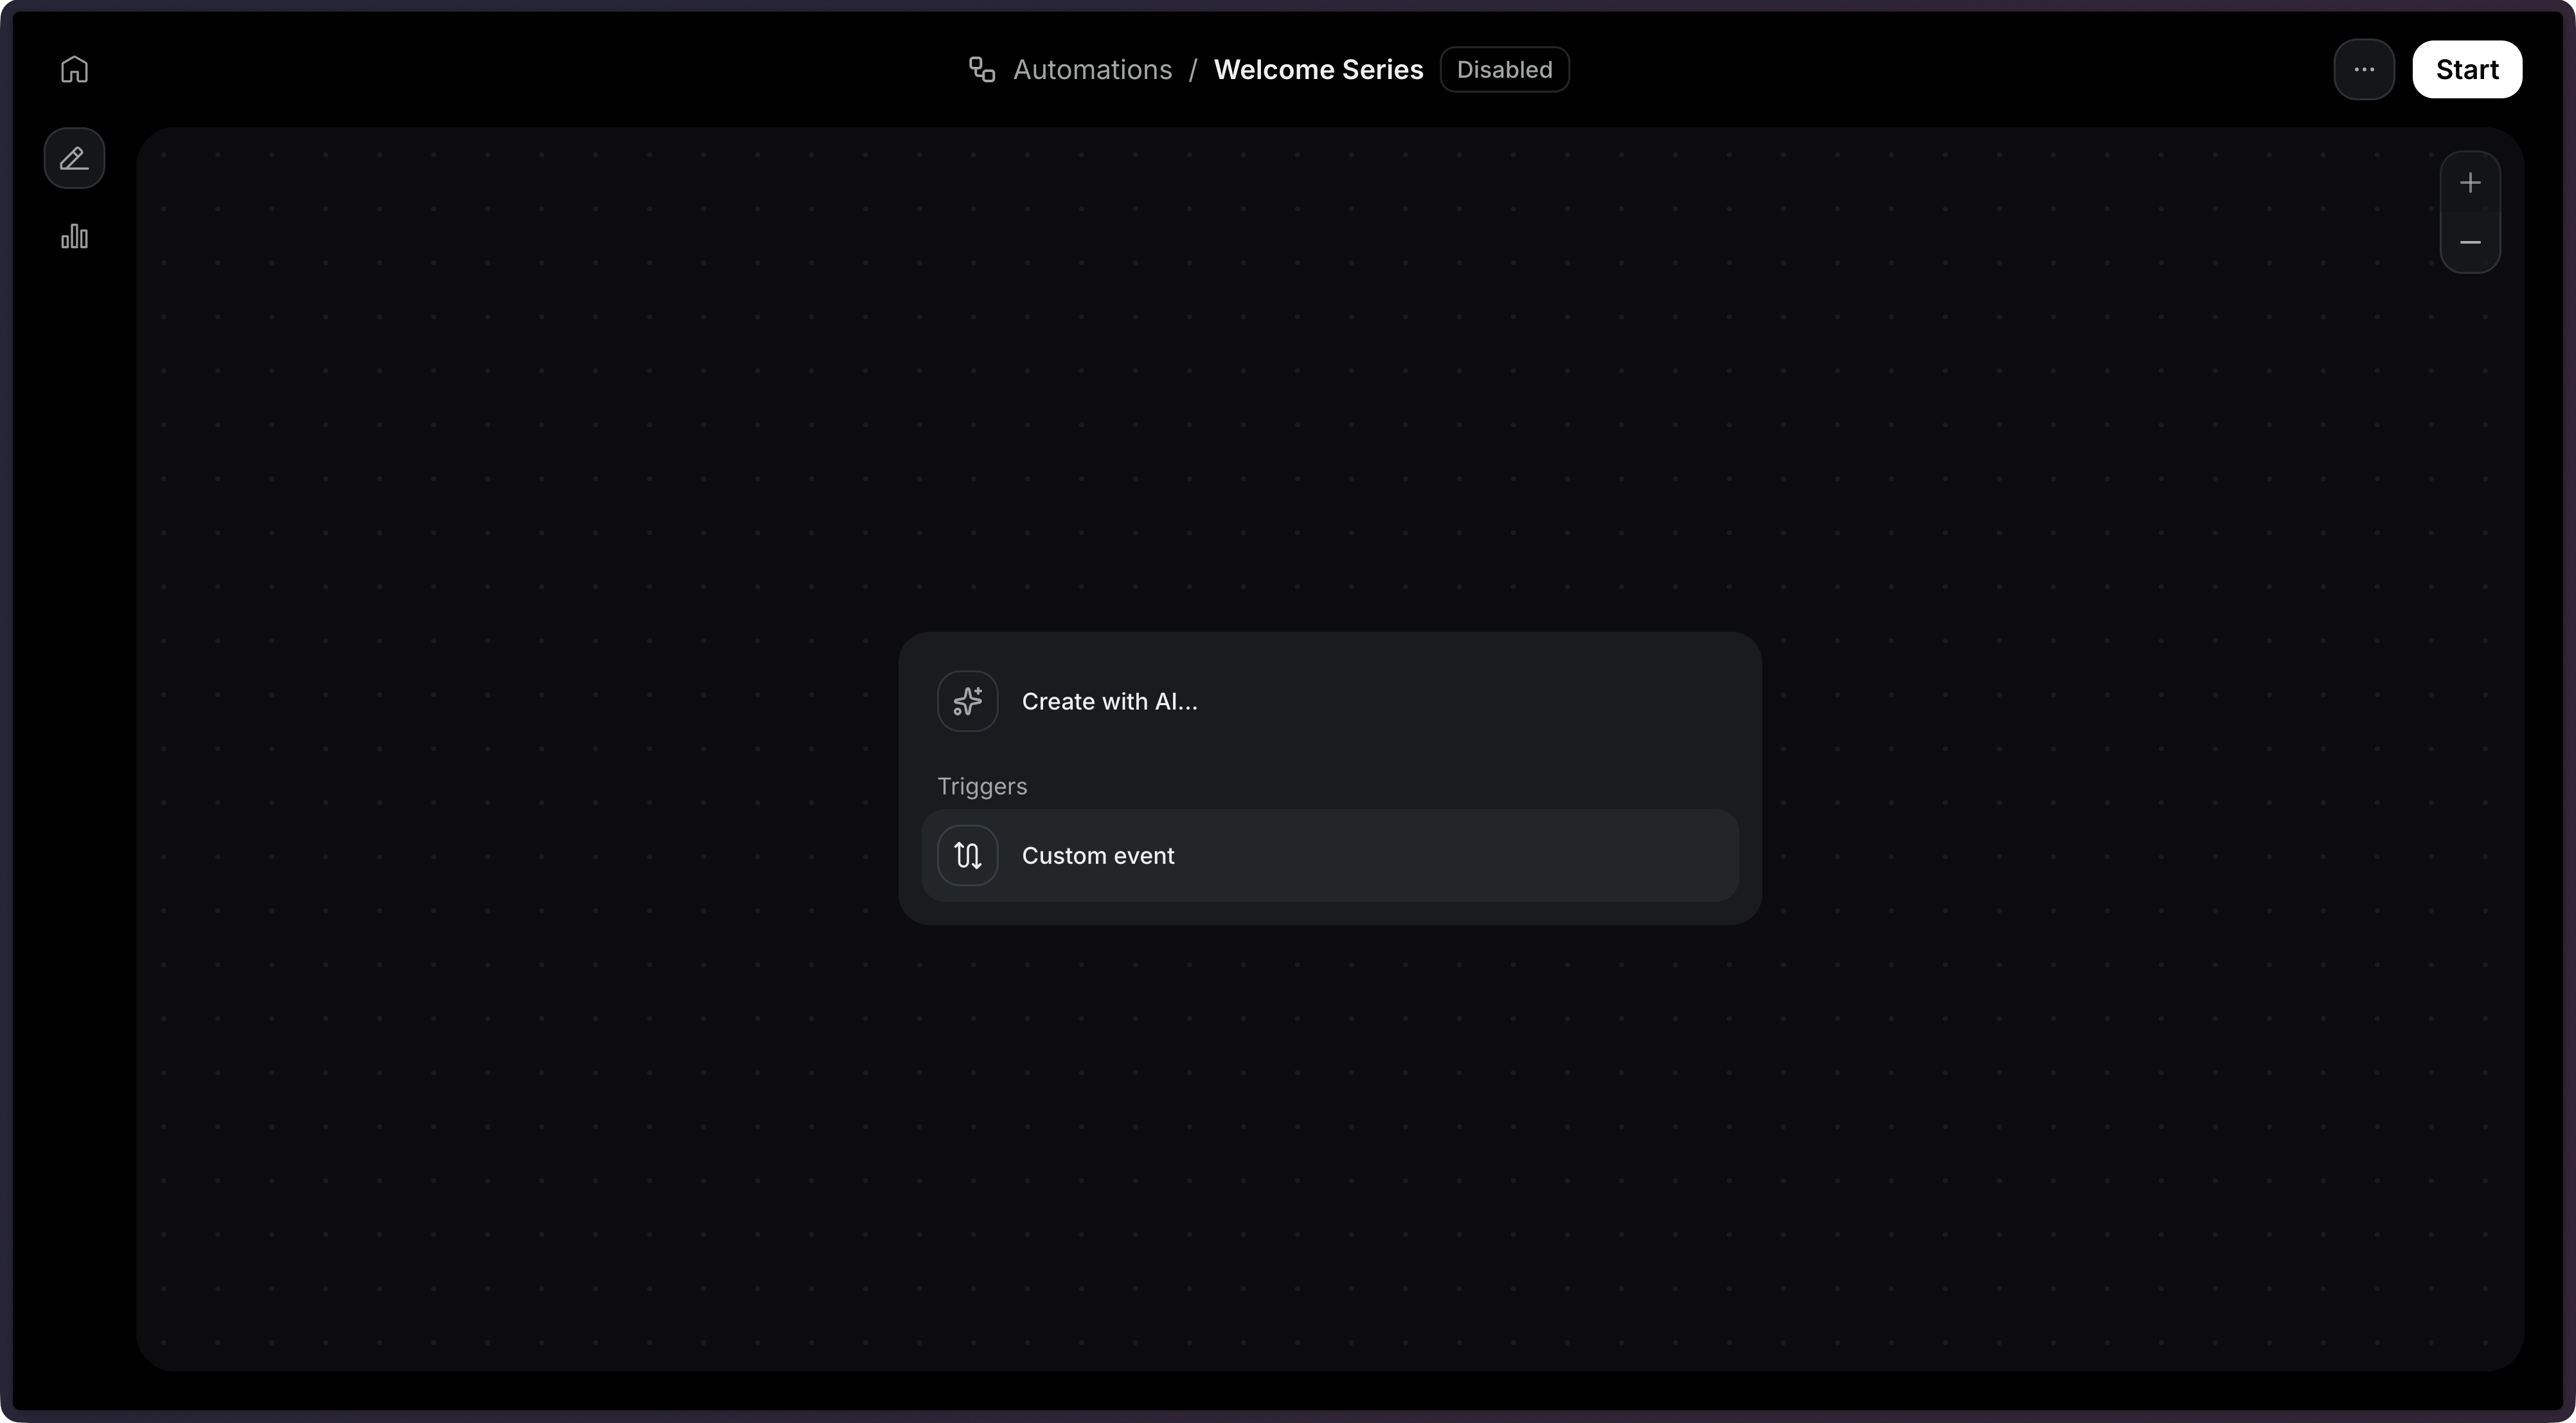
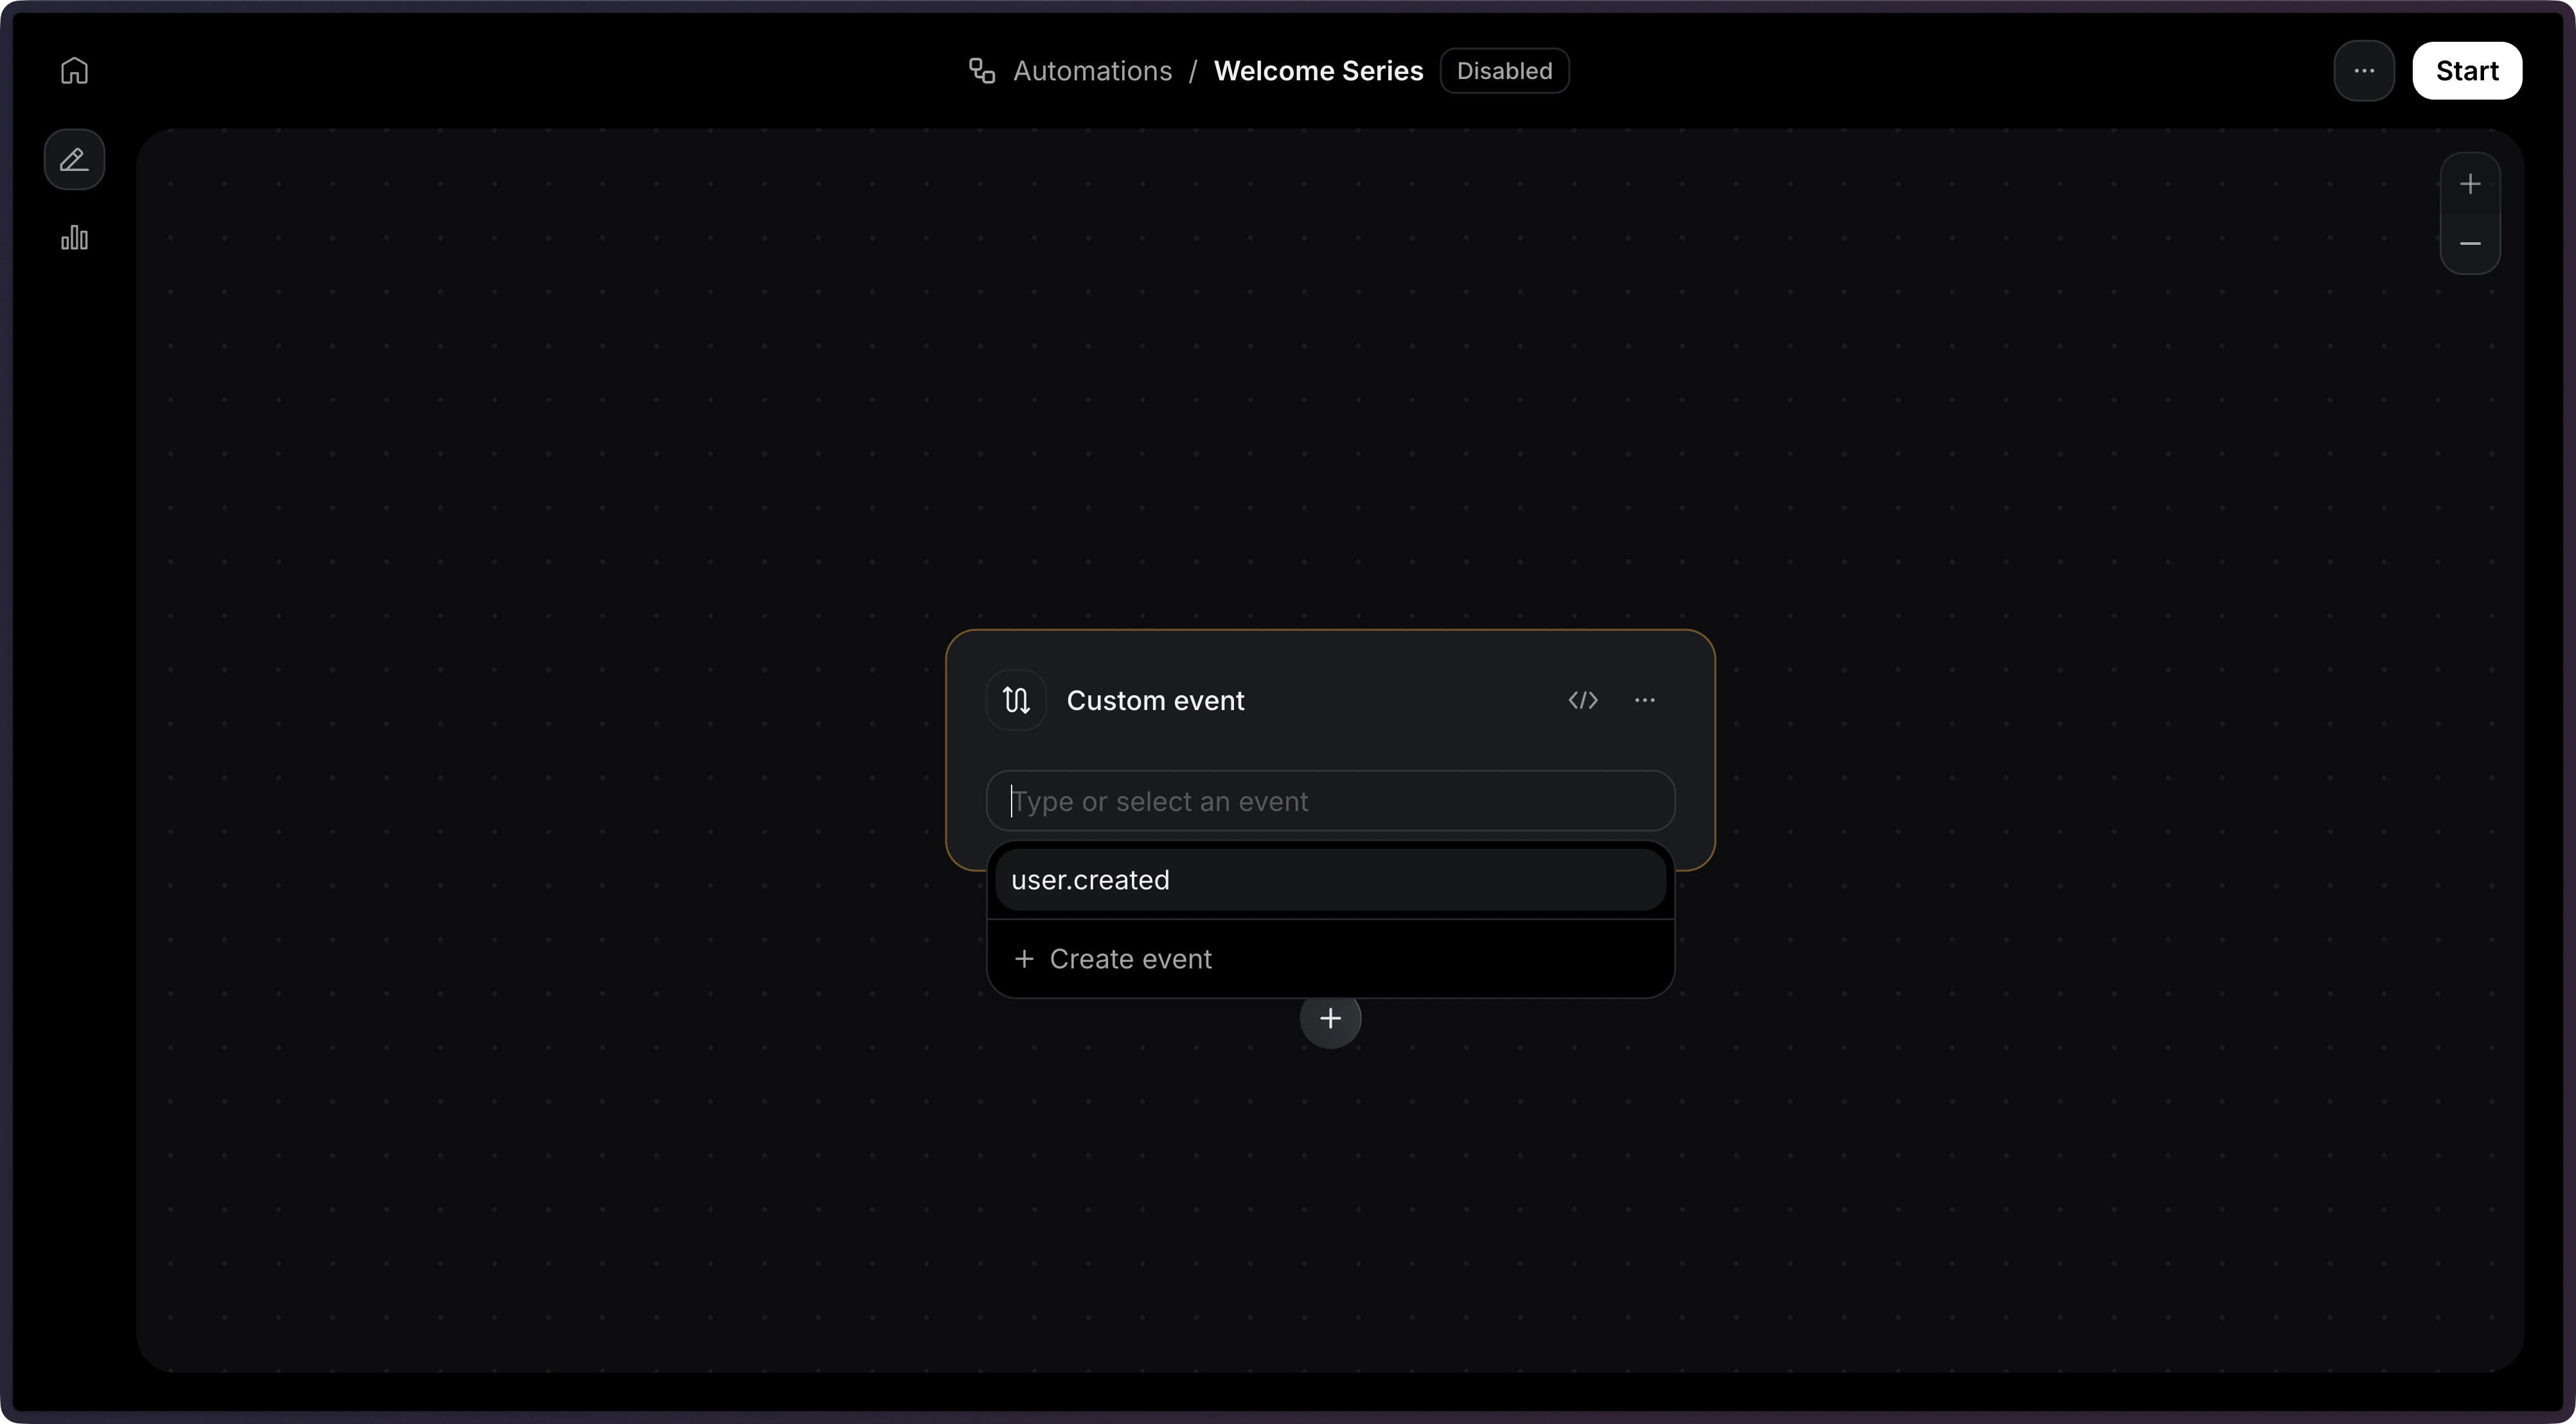
entity.action, like user.created or onboarding.completed.user.created as a trigger.4
Define Steps
Next, define the steps that will be executed when your automation is triggered by a custom event.There are several step types you can add to your Automation: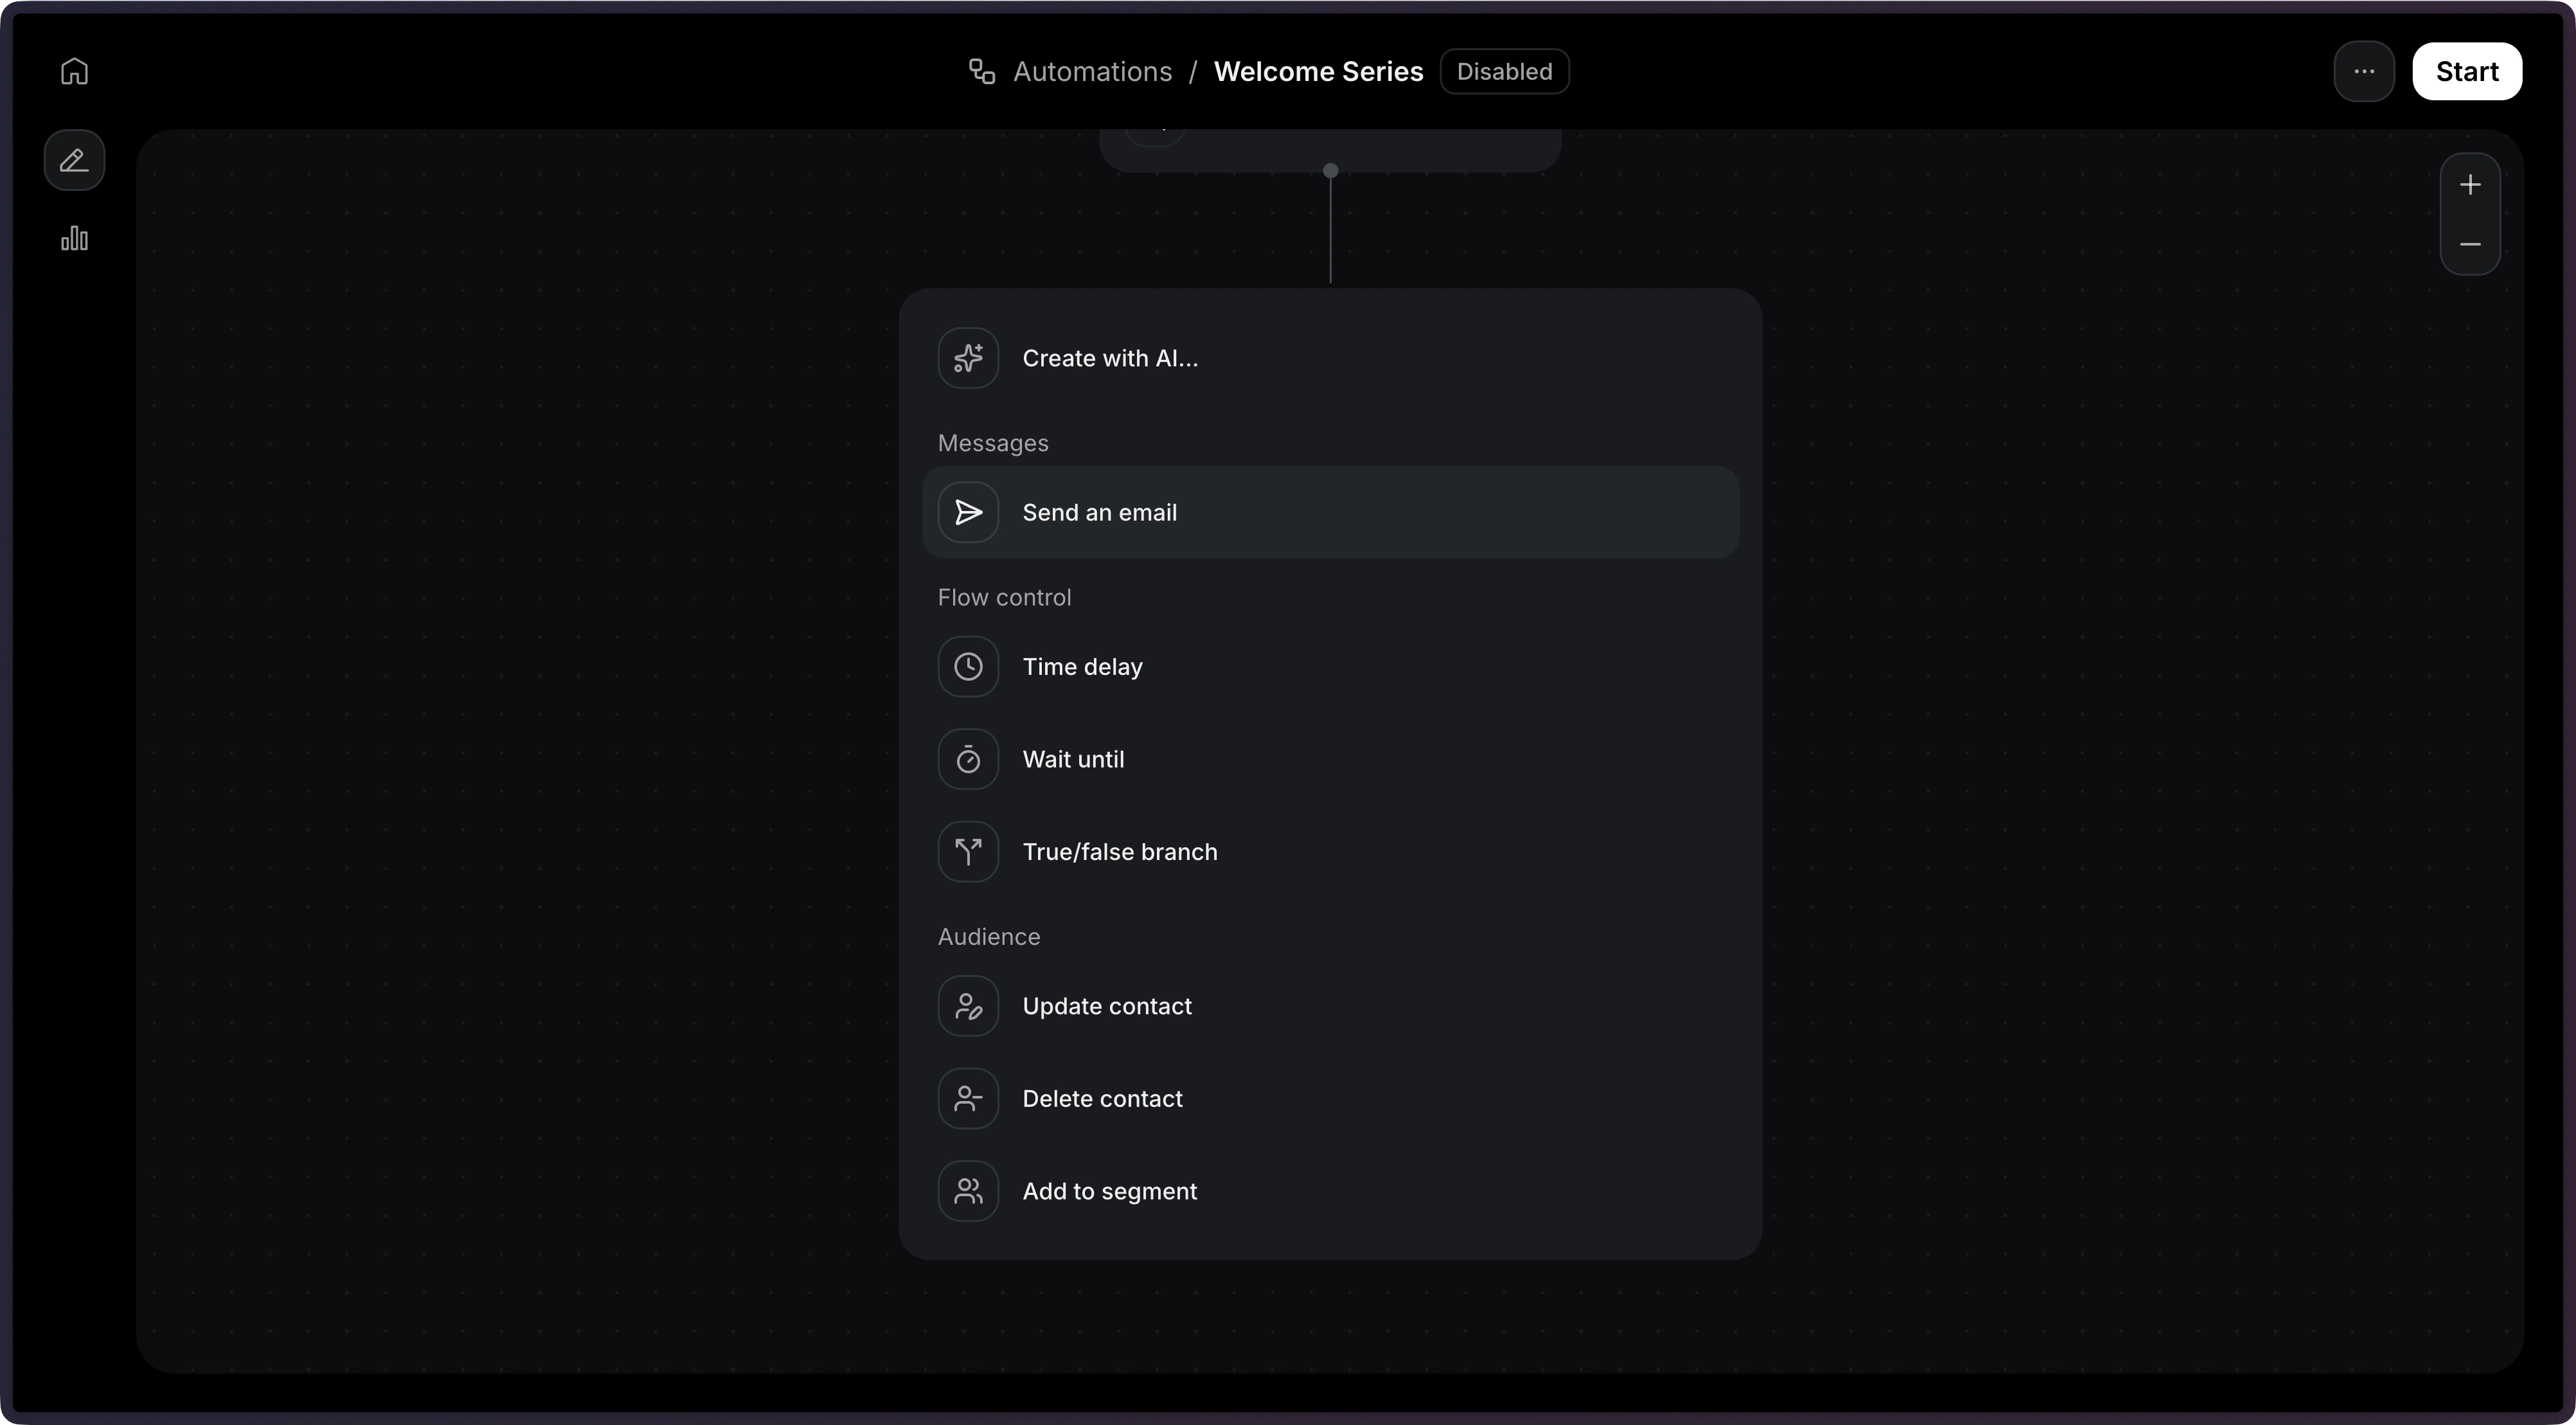
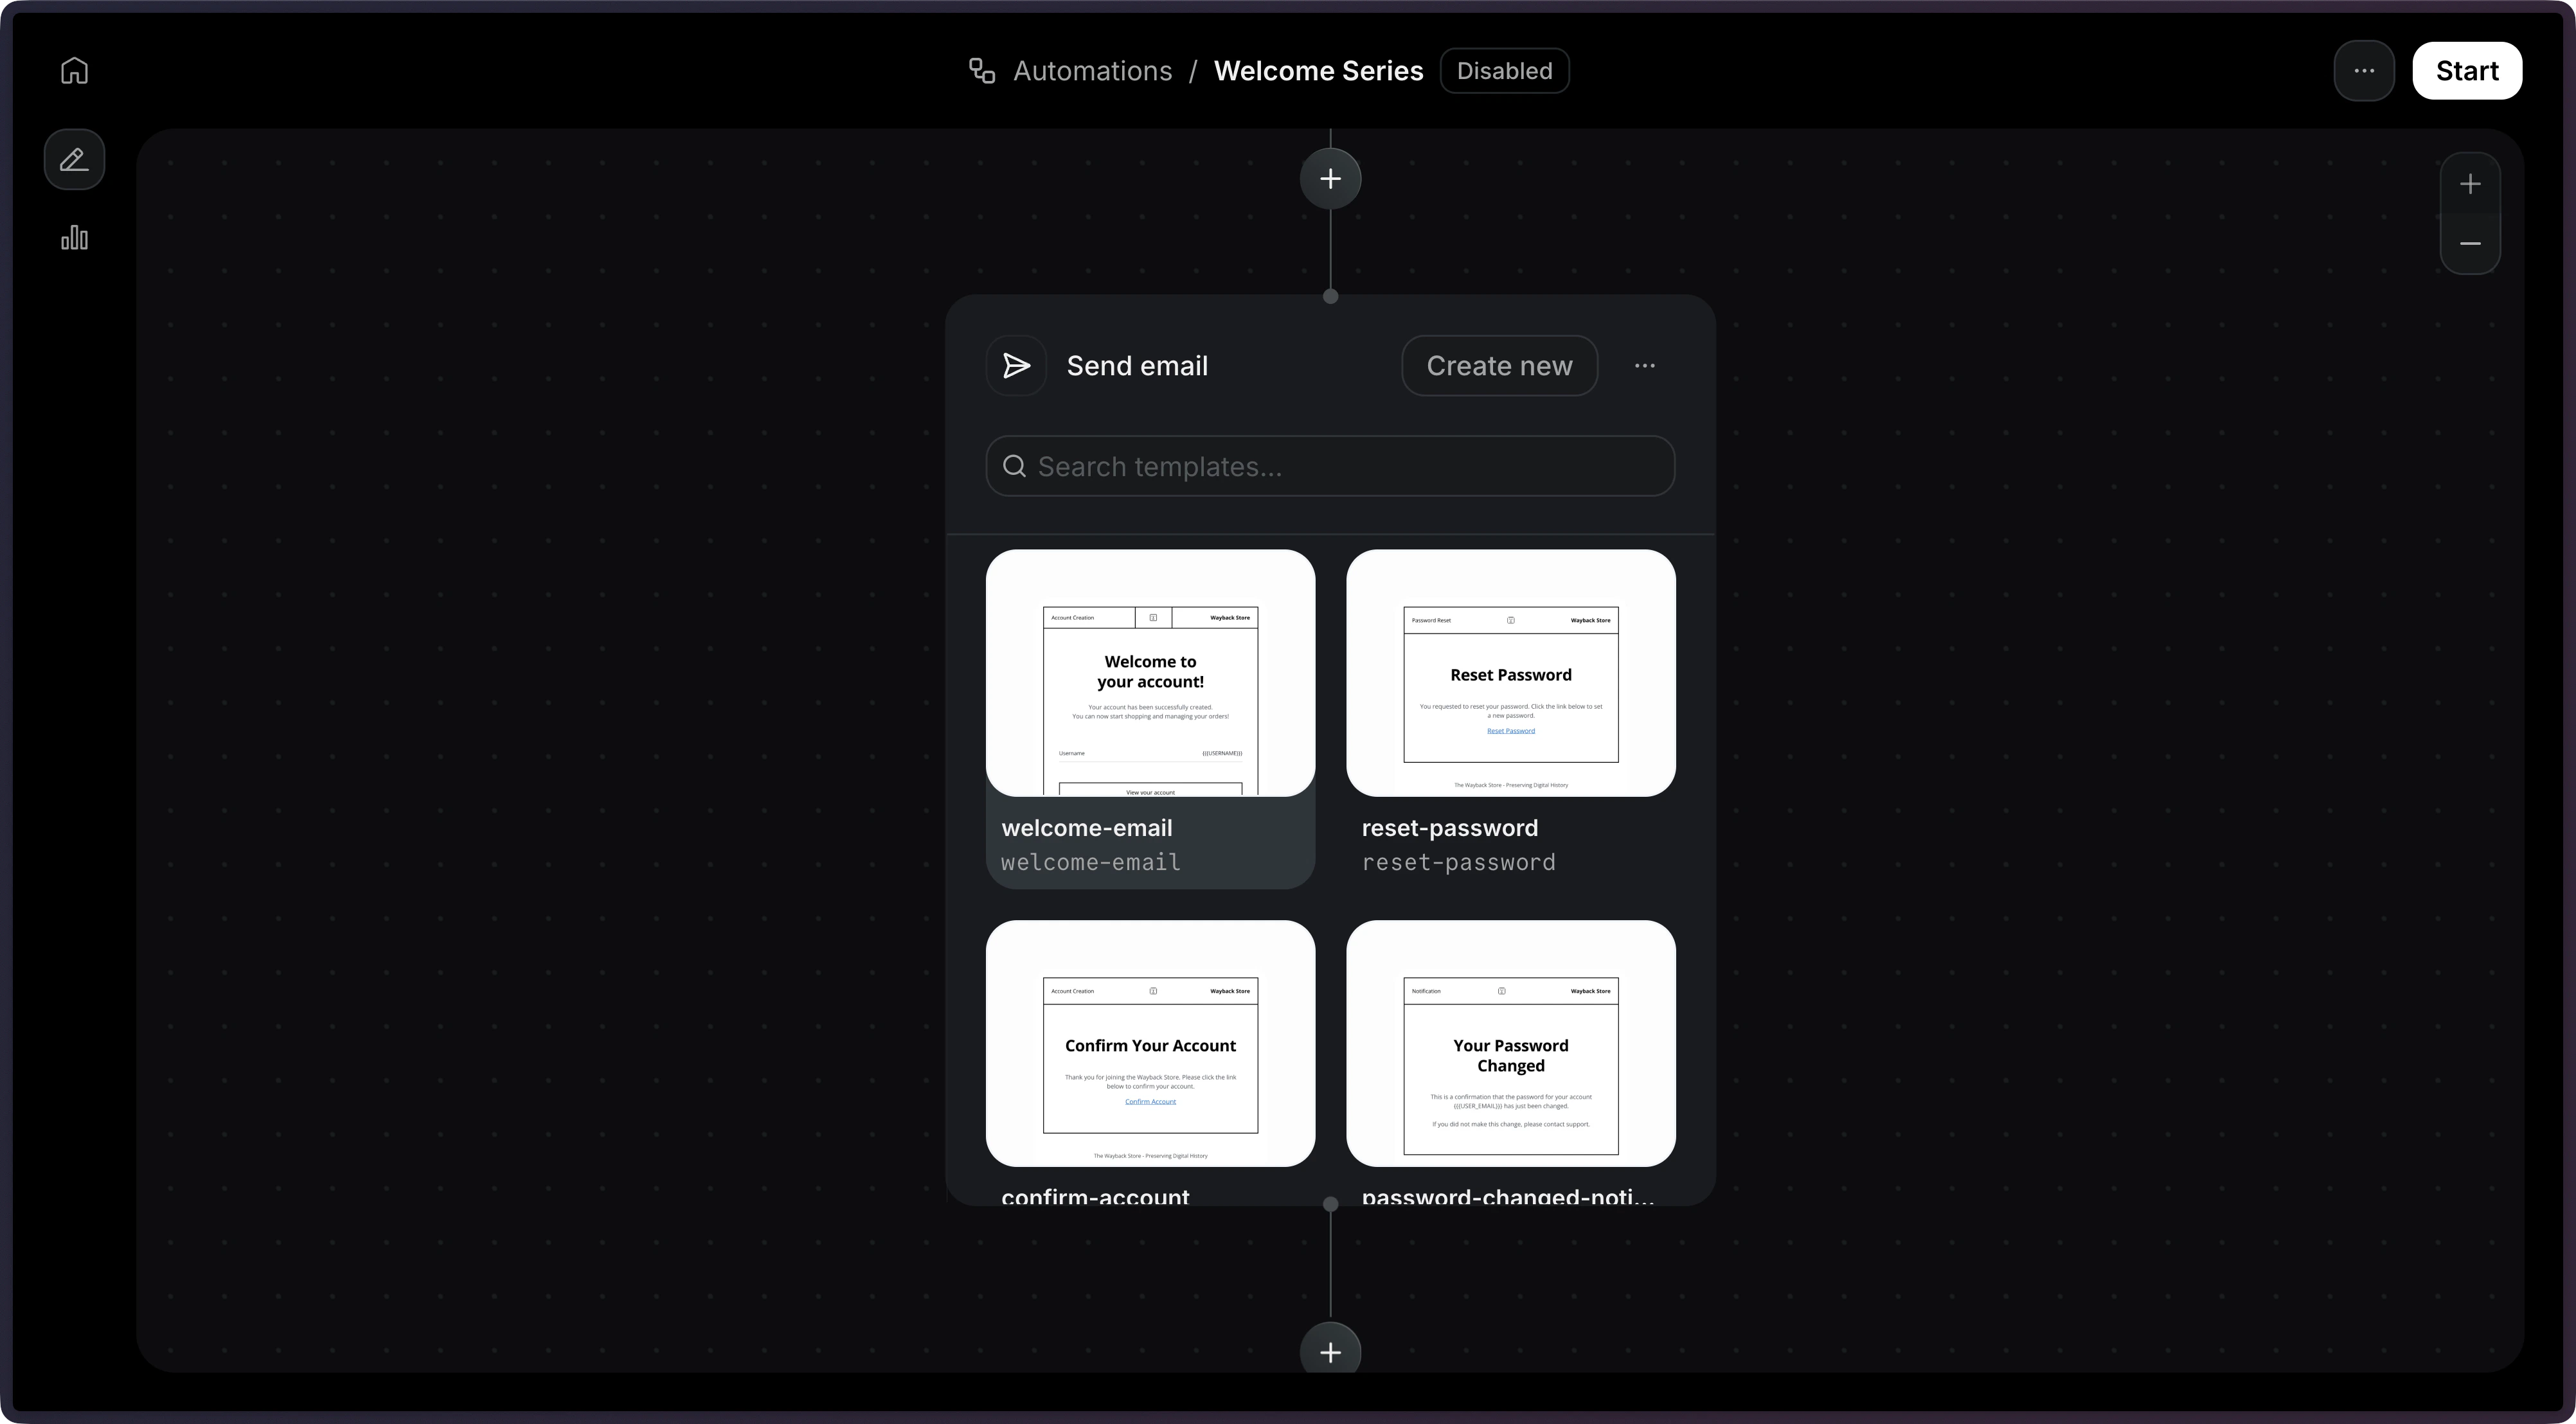
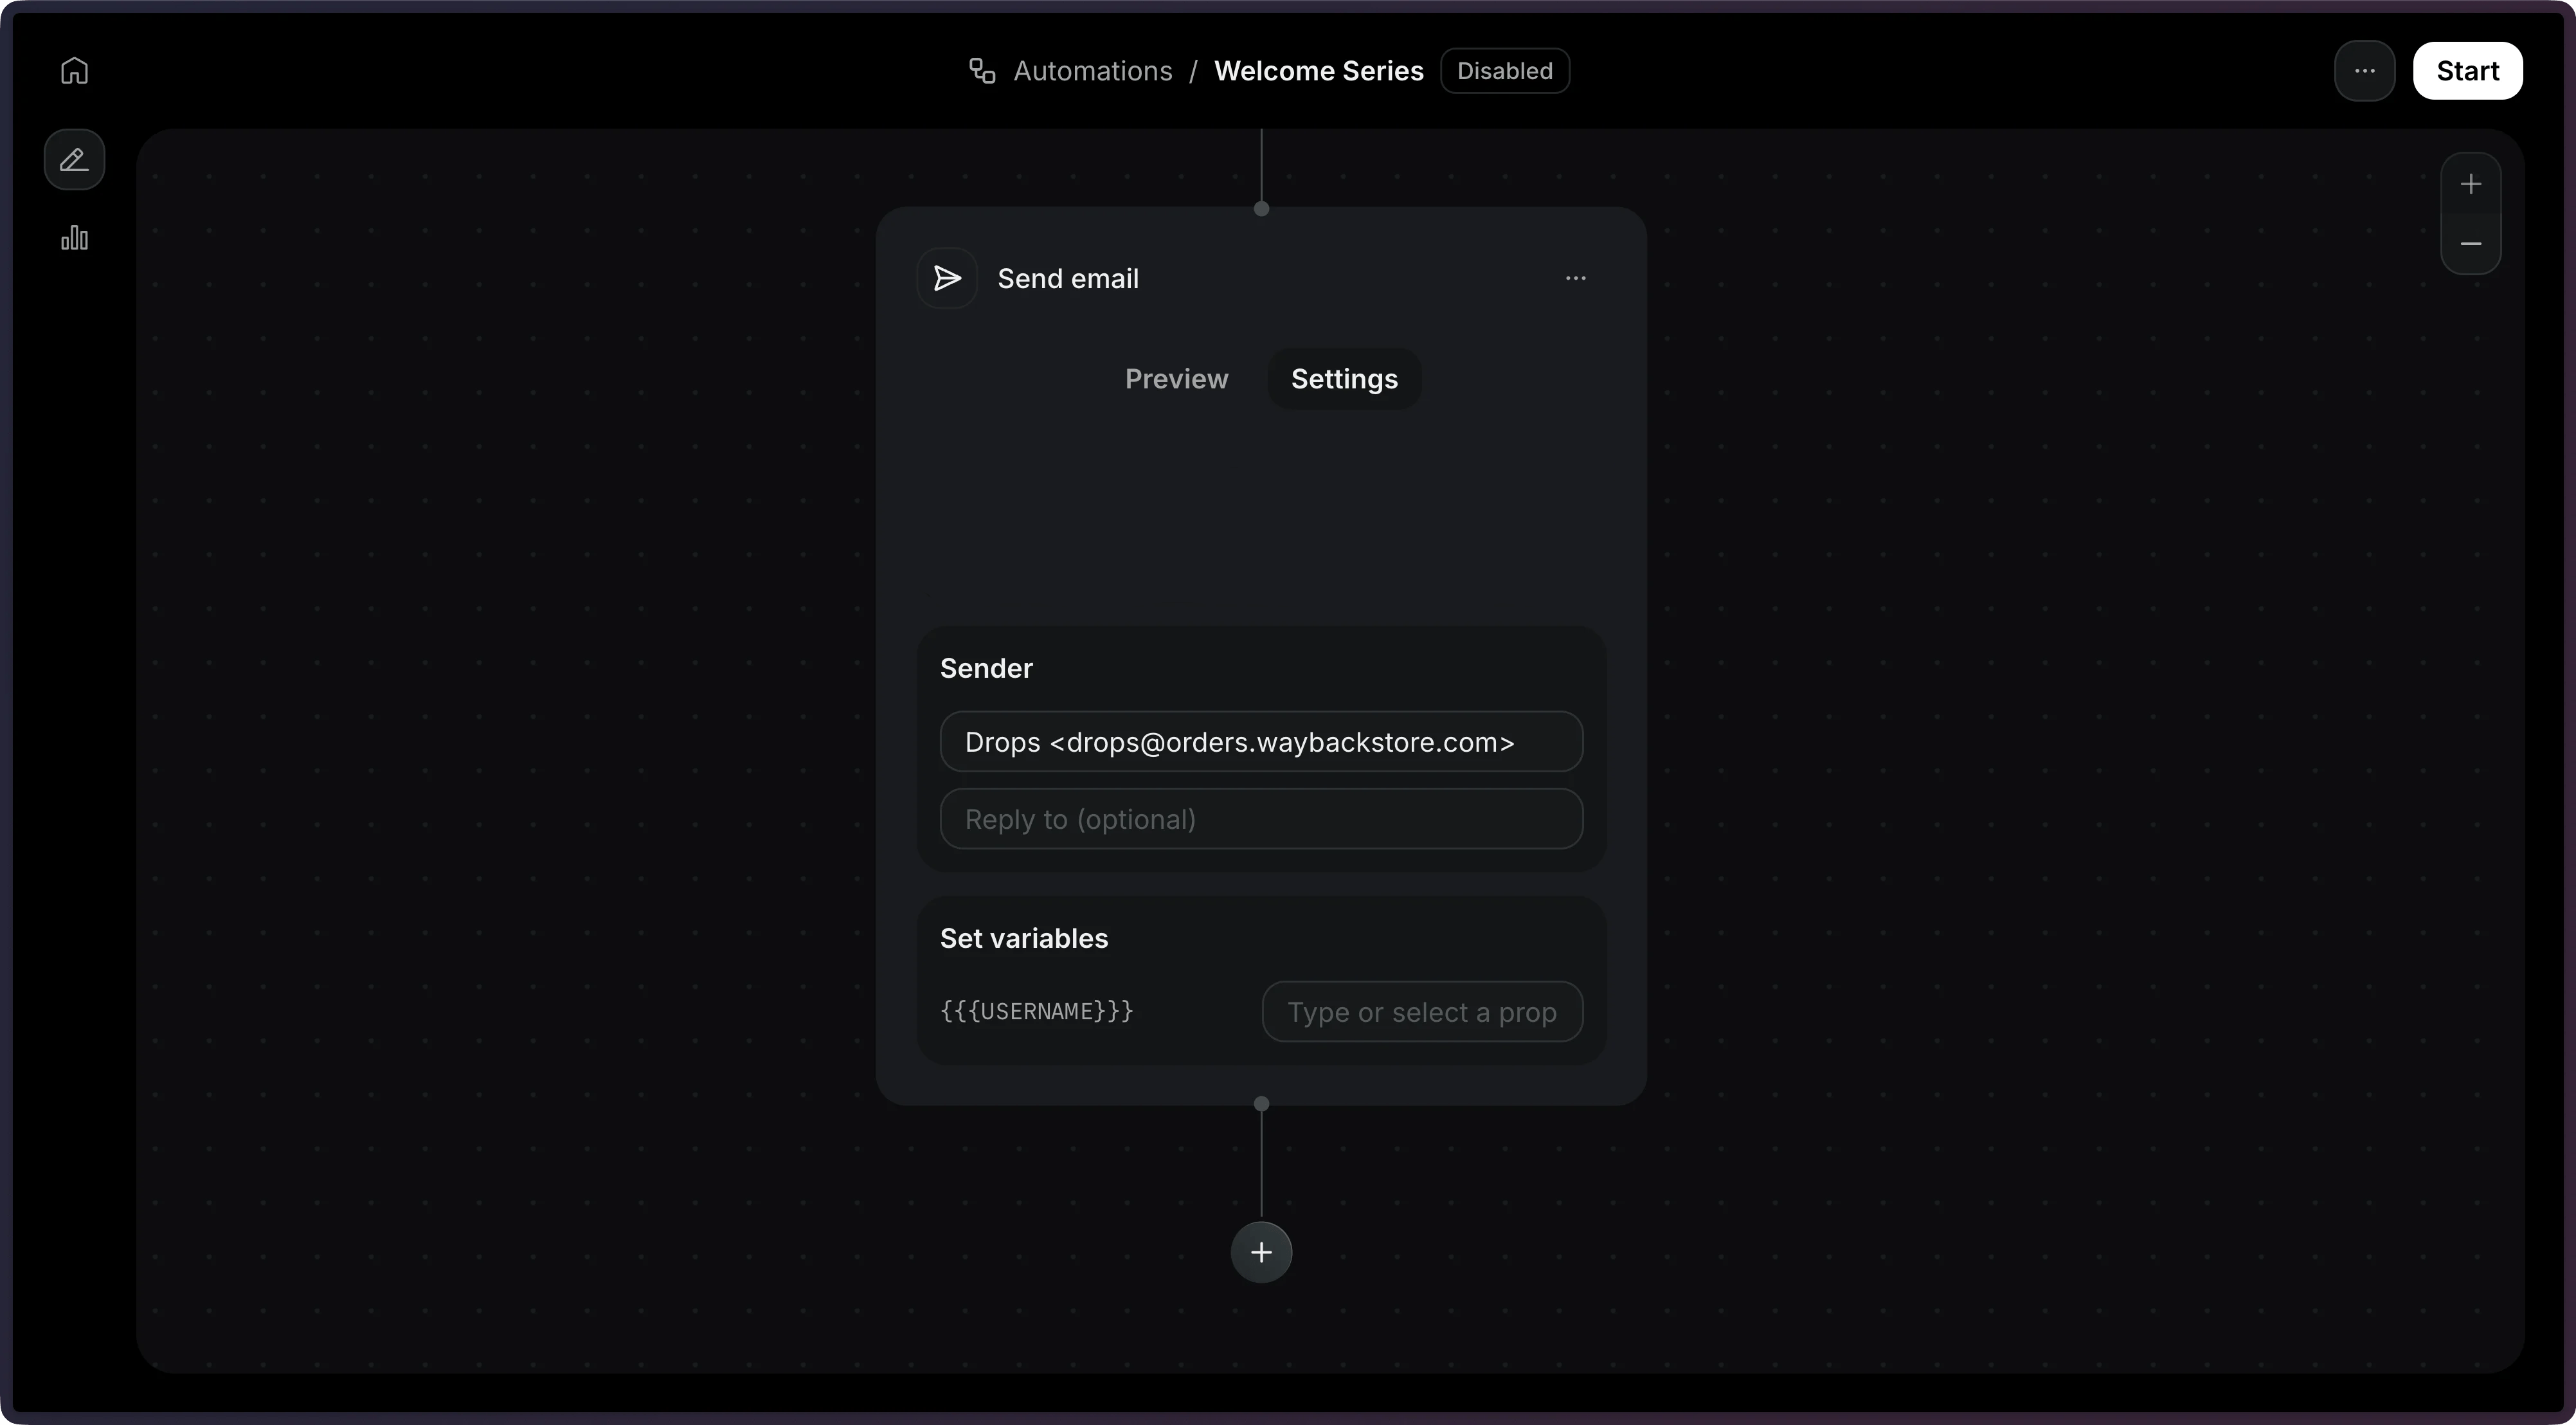
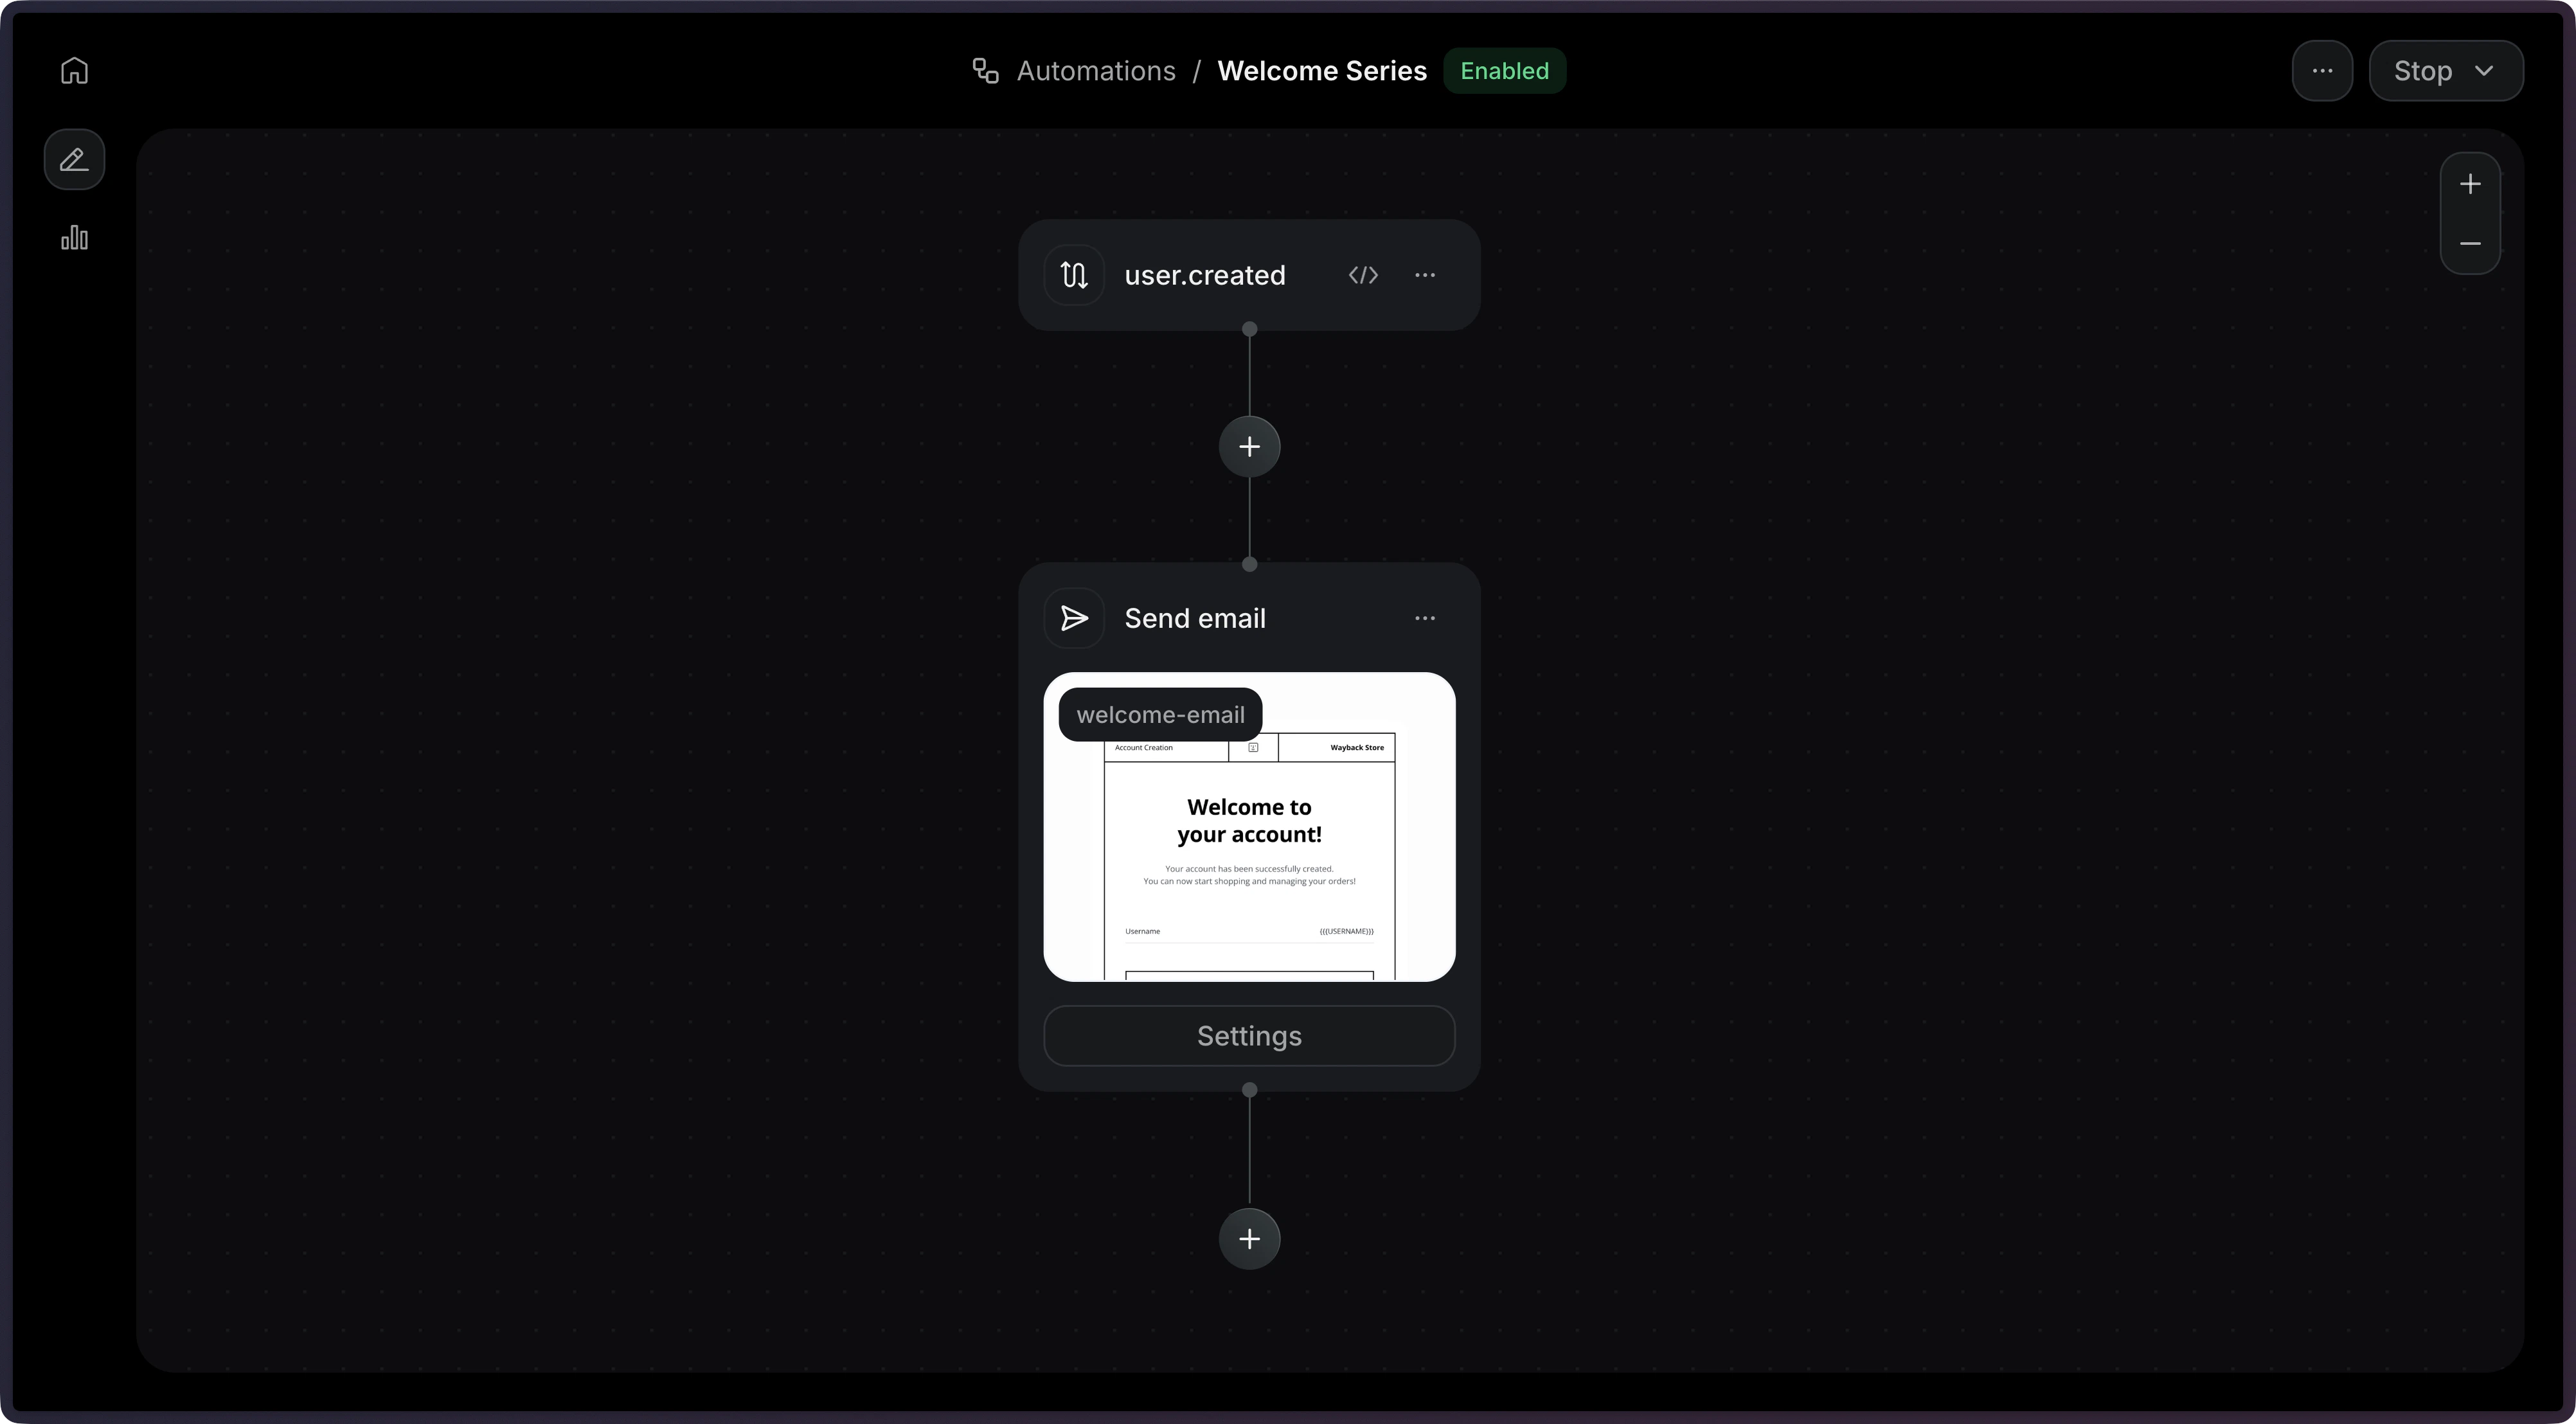
This example will send an email when a user is created.
Note: Only
published
Templates can be
used in an Automation.While an Automation is enabled, its steps cannot be edited. To make changes,
duplicate the Automation,
edit the copy, and switch over by stopping new runs on the original. In-flight
runs will carry out the existing Automation in place when they started.
5
Send an Event
In your application, send an event to trigger the Automation with the Send Event API. Include your custom event name and either View the Send Event API reference for more details.
contact_id or email.You can optionally include a payload object containing custom data to pass to the automation.6
Monitor Runs
After sending events, you can monitor your Automation executions through Runs. Each time an event triggers an Automation, a Run is created to track the execution.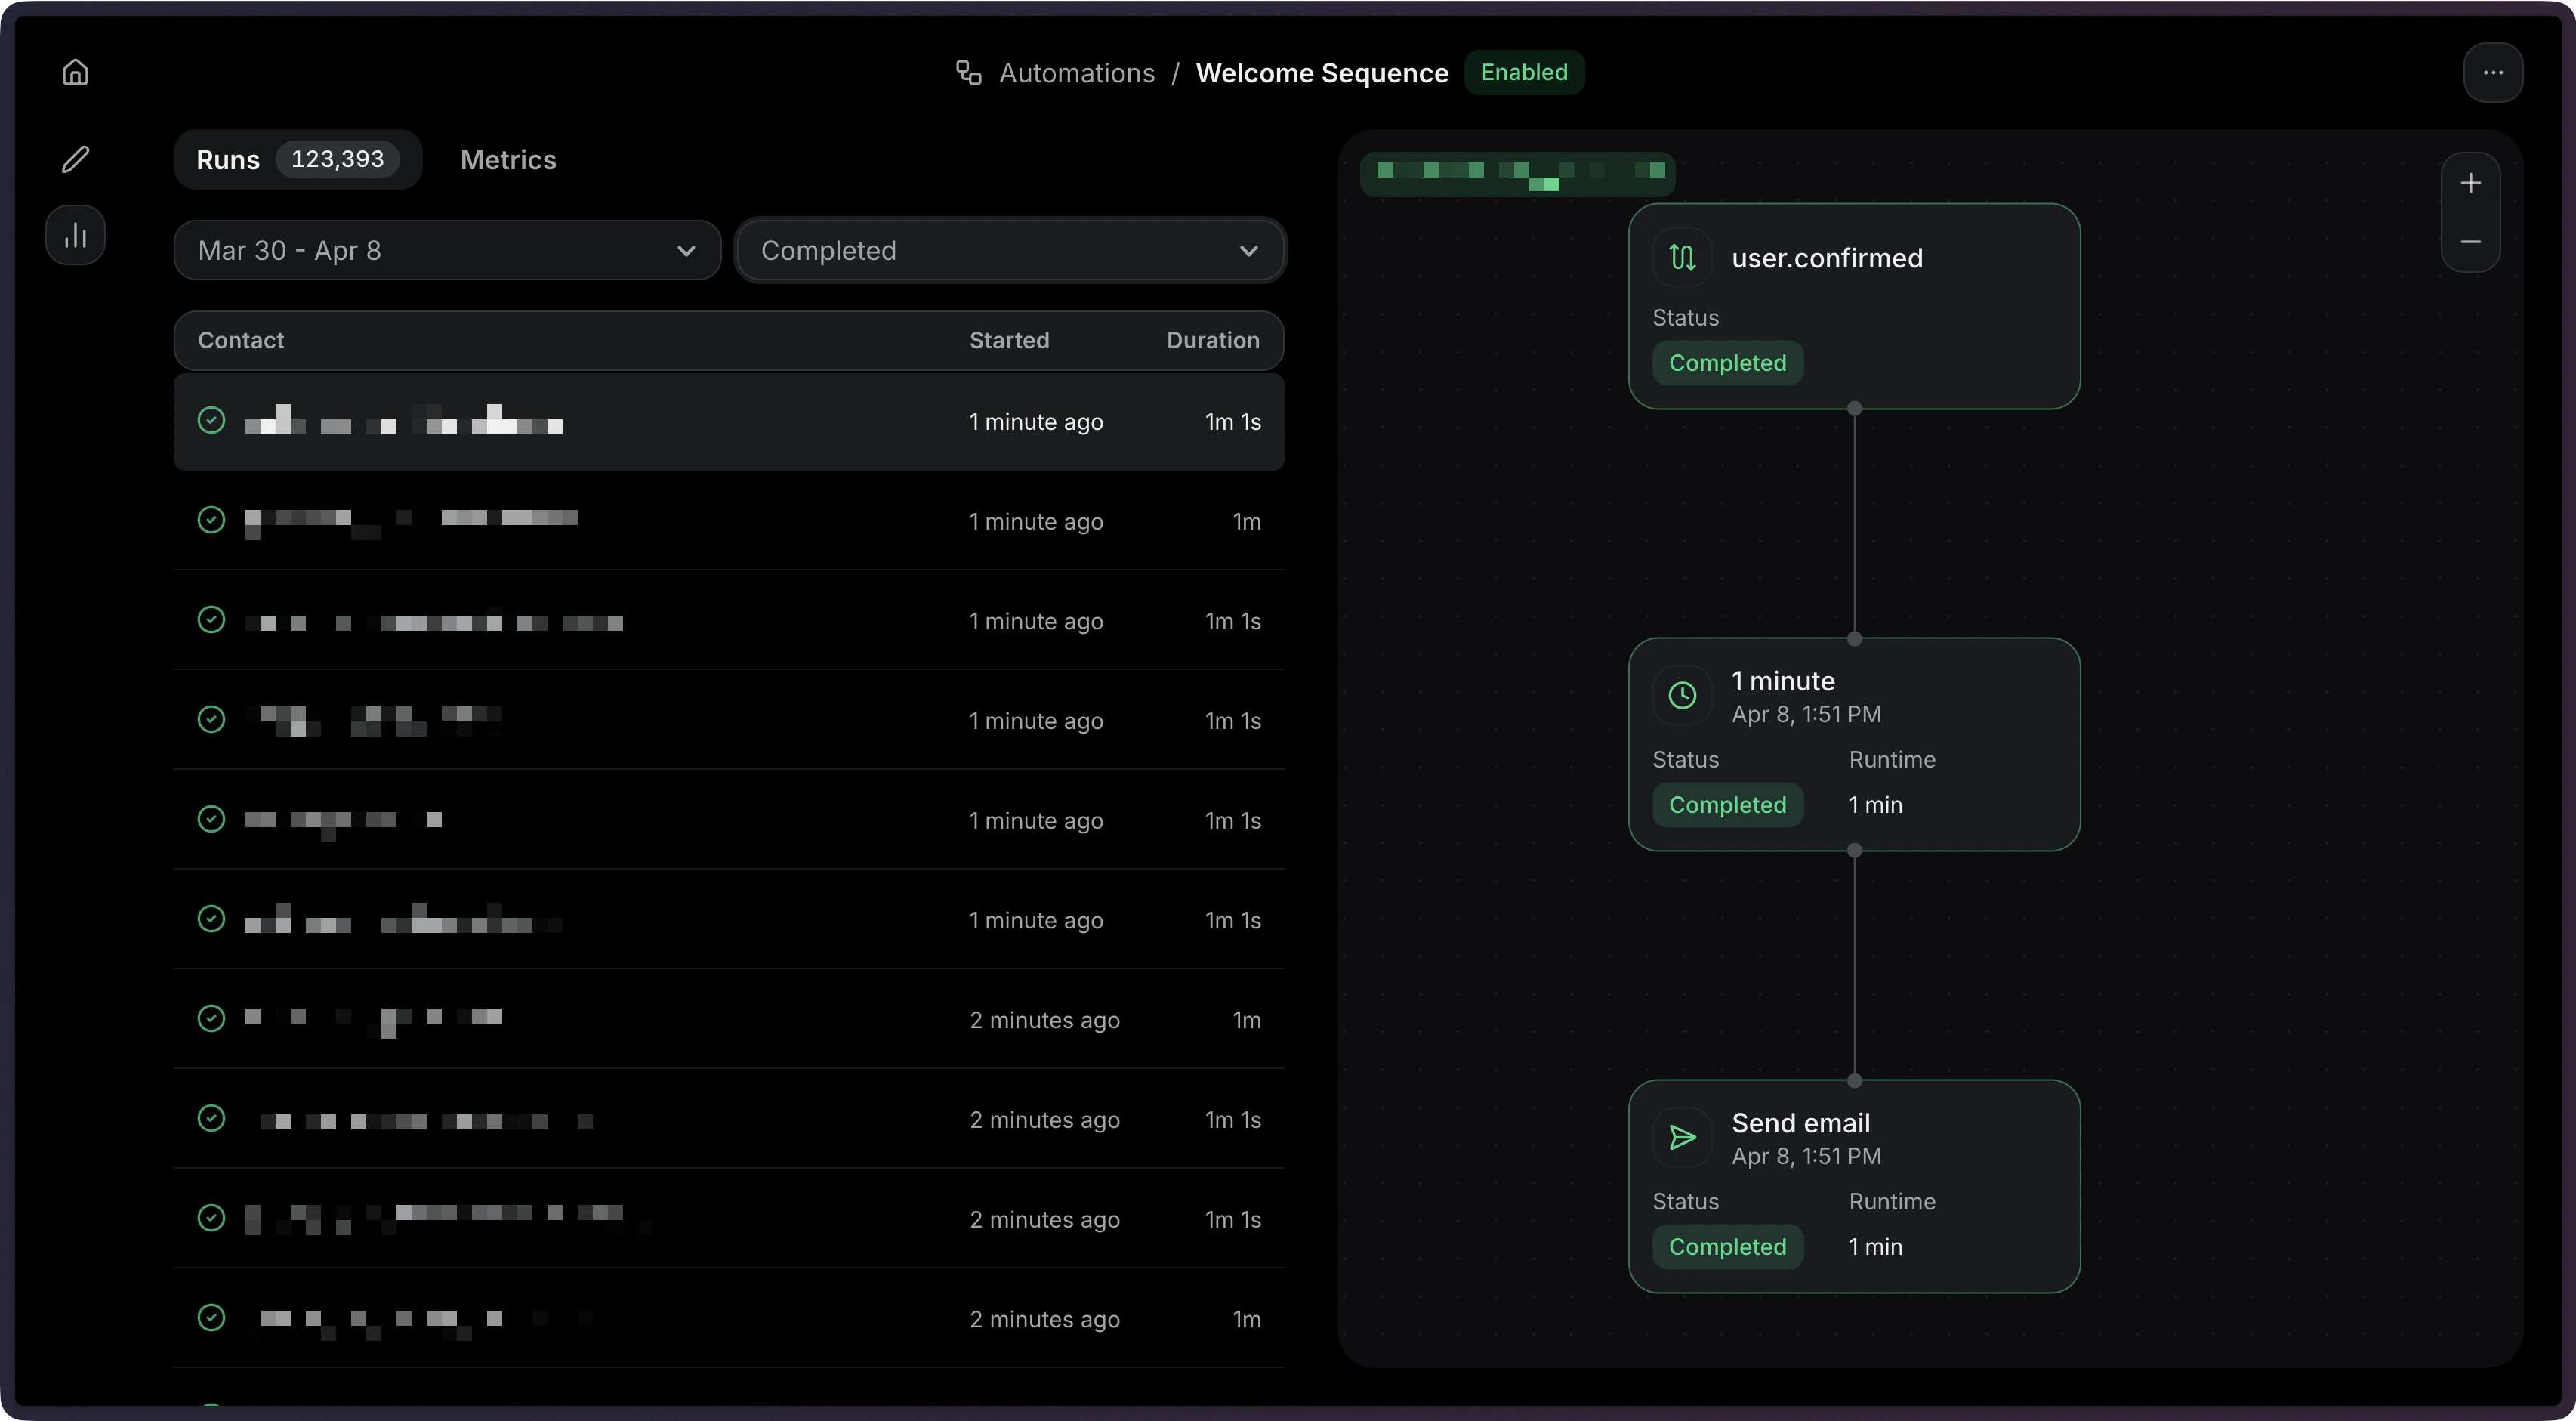
- View Run statuses and execution details
- Filter Runs by status (
running,completed,failed,cancelled) - Debug failed Runs with step-level error information
- Stop Automation Runs when needed
Using the API
When creating an Automation via the API, you can create an entire Automation flow with a single request.1
Define Trigger
You need a custom event to trigger your automation. If you are not using an existing trigger event, you must first create one.You can create new custom events in the Events tab of the Automation Dashboard page, or using the Create Event API.Choose a name like
user.created or onboarding.completed for your custom event to describe the action that will trigger your automation.2
Define Automation
The Create Automation API accepts four parameters (status is optional and defaults to
disabled):name: The name of the Automation.status: The status of the Automation.steps: The steps that compose the Automation graph. Use your custom event name as the first item in thestepsarray withtype: 'trigger'.connections: The connections between steps in the Automation graph.
3
Create Automation
4
Send an Event
Trigger the Automation by sending an event from your application.View the Send Event API reference for more details.
5
Monitor Runs
After sending events, track your Automation executions through Runs.You can filter Runs by status (
running, completed, failed, cancelled).See the Runs documentation and List Runs API reference for more details.