Prerequisites
To get the most out of this guide, you will need to: Prefer watching a video? Check out this video walkthrough below.1. Install
First, install Resend for Laravel using the Composer package manager:Composer
2. Configuration
API key
Next, you should configure your Resend API key in your application’s.env file:
.env
If you’ve upgraded your Laravel project from an older version (pre-5.5) and haven’t enabled auto service provider discovery, you’ll need to manually register the Resend service provider. Add the provider to the Without this registration, the Facade may reference the core Resend PHP client instead of the Resend Laravel library, causing unexpected behavior.
providers array in your config/app.php file:config/app.php
Mail driver
To use Resend as your mail driver, first create a new mailer definition, in themailers array within your application’s config/mail.php configuration file:
mail.php
.env file to use the Resend mail driver:
.env
3. Send an email
Resend for Laravel provides two convenient ways to send emails, using Laravel’s email service or theResend API facade.
Using the Mail Facade
OrderShipmentController.php
Using the Resend Facade
OrderShipmentController.php
4. Receiving webhook requests
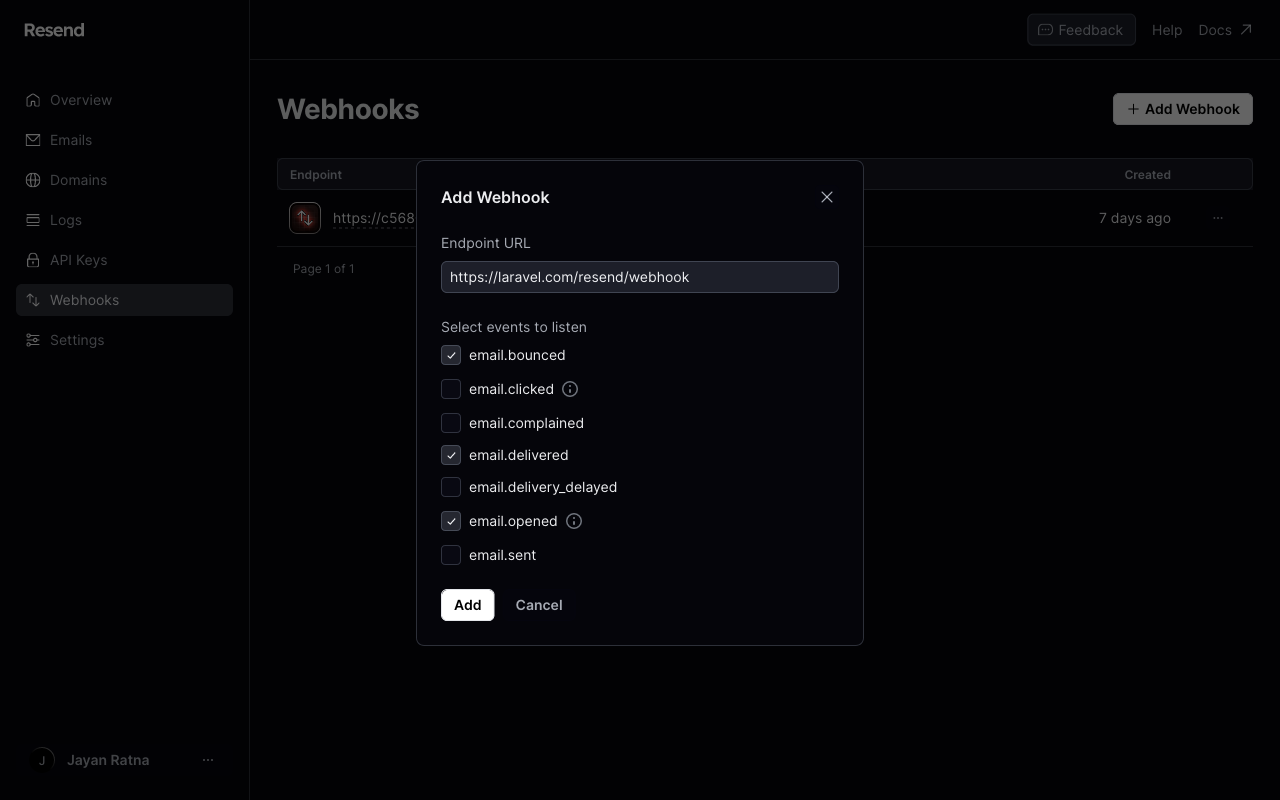
By default, Resend for Laravel includes a webhook controller to respond to the/resend/webhook URL path. The controller will dispatch a Laravel event that corresponds to a Resend event. For example, an email.delivered event type will send an EmailDelivered Laravel event.
Register the webhook endpoint
Register your publicly accessible HTTPS URL in the Resend dashboard.
CSRF protection
Webhook requests from Resend need to bypass Laravel’s CSRF protection. Be sure to list the URI as an exception in your application’sApp\Http\Middleware\VerifyCsrfToken middleware or list the route outside of the web middleware group:
Verifying webhook signatures
To enable webhook verification, ensure that theRESEND_WEBHOOK_SECRET environment variable is set in your application’s .env file. The Signing secret can be retrieved from your Resend dashboard.
5. Try it yourself
Laravel Example
See the full source code.