Name: {{{PRODUCT}}}
Total: {{{PRICE}}}
', variables: [ { key: 'PRODUCT', type: 'string', fallbackValue: 'item', }, { key: 'PRICE', type: 'number', fallbackValue: 20, }, ], }); ``` ```php PHP theme={"theme":{"light":"github-light","dark":"vesper"}} $resend = Resend::client('re_xxxxxxxxx'); $resend->templates->create([ 'name' => 'order-confirmation', 'from' => 'Resend StoreName: {{{PRODUCT}}}
Total: {{{PRICE}}}
', 'variables' => [ [ 'key' => 'PRODUCT', 'type' => 'string', 'fallback_value' => 'item' ], [ 'key' => 'PRICE', 'type' => 'number', 'fallback_value' => 49.99 ] ] ]); ``` ```py Python theme={"theme":{"light":"github-light","dark":"vesper"}} import resend resend.api_key = "re_xxxxxxxxx" params: resend.Templates.CreateParams = { "name": "order-confirmation", "from": "Resend StoreName: {{{PRODUCT}}}
Total: {{{PRICE}}}
", "variables": [ { "key": "PRODUCT", "type": "string", "fallback_value": "item", }, { "key": "PRICE", "type": "number", "fallback_value": 20, }, ], } resend.Templates.create(params) ``` ```ruby Ruby theme={"theme":{"light":"github-light","dark":"vesper"}} require "resend" Resend.api_key = "re_xxxxxxxxx" Resend::Templates.create( name: "order-confirmation", from: "Resend StoreName: {{{PRODUCT}}}
Total: {{{PRICE}}}
", variables: [ { key: "PRODUCT", type: "string", fallback_value: "item" }, { key: "PRICE", type: "number", fallback_value: 20 } ] ) ``` ```go Go theme={"theme":{"light":"github-light","dark":"vesper"}} import "github.com/resend/resend-go/v3" client := resend.NewClient("re_xxxxxxxxx") template, err := client.Templates.Create(&resend.CreateTemplateRequest{ Name: "order-confirmation", From: "Resend StoreName: {{{PRODUCT}}}
Total: {{{PRICE}}}
", Variables: []*resend.TemplateVariable{ { Key: "PRODUCT", Type: resend.VariableTypeString, FallbackValue: "item", }, { Key: "PRICE", Type: resend.VariableTypeNumber, FallbackValue: 20, }, }, }) ``` ```rust Rust theme={"theme":{"light":"github-light","dark":"vesper"}} use resend_rs::{ types::{CreateTemplateOptions, Variable, VariableType}, Resend, Result, }; #[tokio::main] async fn main() -> Result<()> { let resend = Resend::new("re_xxxxxxxxx"); let name = "order-confirmation"; let from = "Resend StoreName: {{{PRODUCT}}}
Total: {{{PRICE}}}
"; let variables = [ Variable::new("PRODUCT", VariableType::String).with_fallback("item"), Variable::new("PRICE", VariableType::Number).with_fallback(20) ]; let opts = CreateTemplateOptions::new(name, from, subject) .with_html(html) .with_variables(&variables); let template = resend.templates.create(opts).await?; let _published = resend.templates.publish(&template.id).await?; Ok(()) } ``` ```java Java theme={"theme":{"light":"github-light","dark":"vesper"}} import com.resend.*; public class Main { public static void main(String[] args) { Resend resend = new Resend("re_xxxxxxxxx"); CreateTemplateOptions params = CreateTemplateOptions.builder() .name("order-confirmation") .from("Resend StoreName: {{{PRODUCT}}}
Total: {{{PRICE}}}
") .addVariable(new Variable("PRODUCT", VariableType.STRING, "item")) .addVariable(new Variable("PRICE", VariableType.NUMBER, 20)) .build(); CreateTemplateResponseSuccess data = resend.templates().create(params); } } ``` ```csharp .NET theme={"theme":{"light":"github-light","dark":"vesper"}} using Resend; IResend resend = ResendClient.Create("re_xxxxxxxxx"); var variables = new ListName: {{{PRODUCT}}}
Total: {{{PRICE}}}
", Variables = variables, } ); Console.WriteLine($"Template Id={resp.Content}"); ``` ```bash cURL theme={"theme":{"light":"github-light","dark":"vesper"}} curl -X POST 'https://api.resend.com/templates' \ -H 'Authorization: Bearer re_xxxxxxxxx' \ -H 'Content-Type: application/json' \ -d $'{ "name": "order-confirmation", "from": "Resend StoreName: {{{PRODUCT}}}
Total: {{{PRICE}}}
", "variables": [ { "key": "PRODUCT", "type": "string", "fallback_value": "item" }, { "key": "PRICE", "type": "number", "fallback_value": 20 } ] }' ```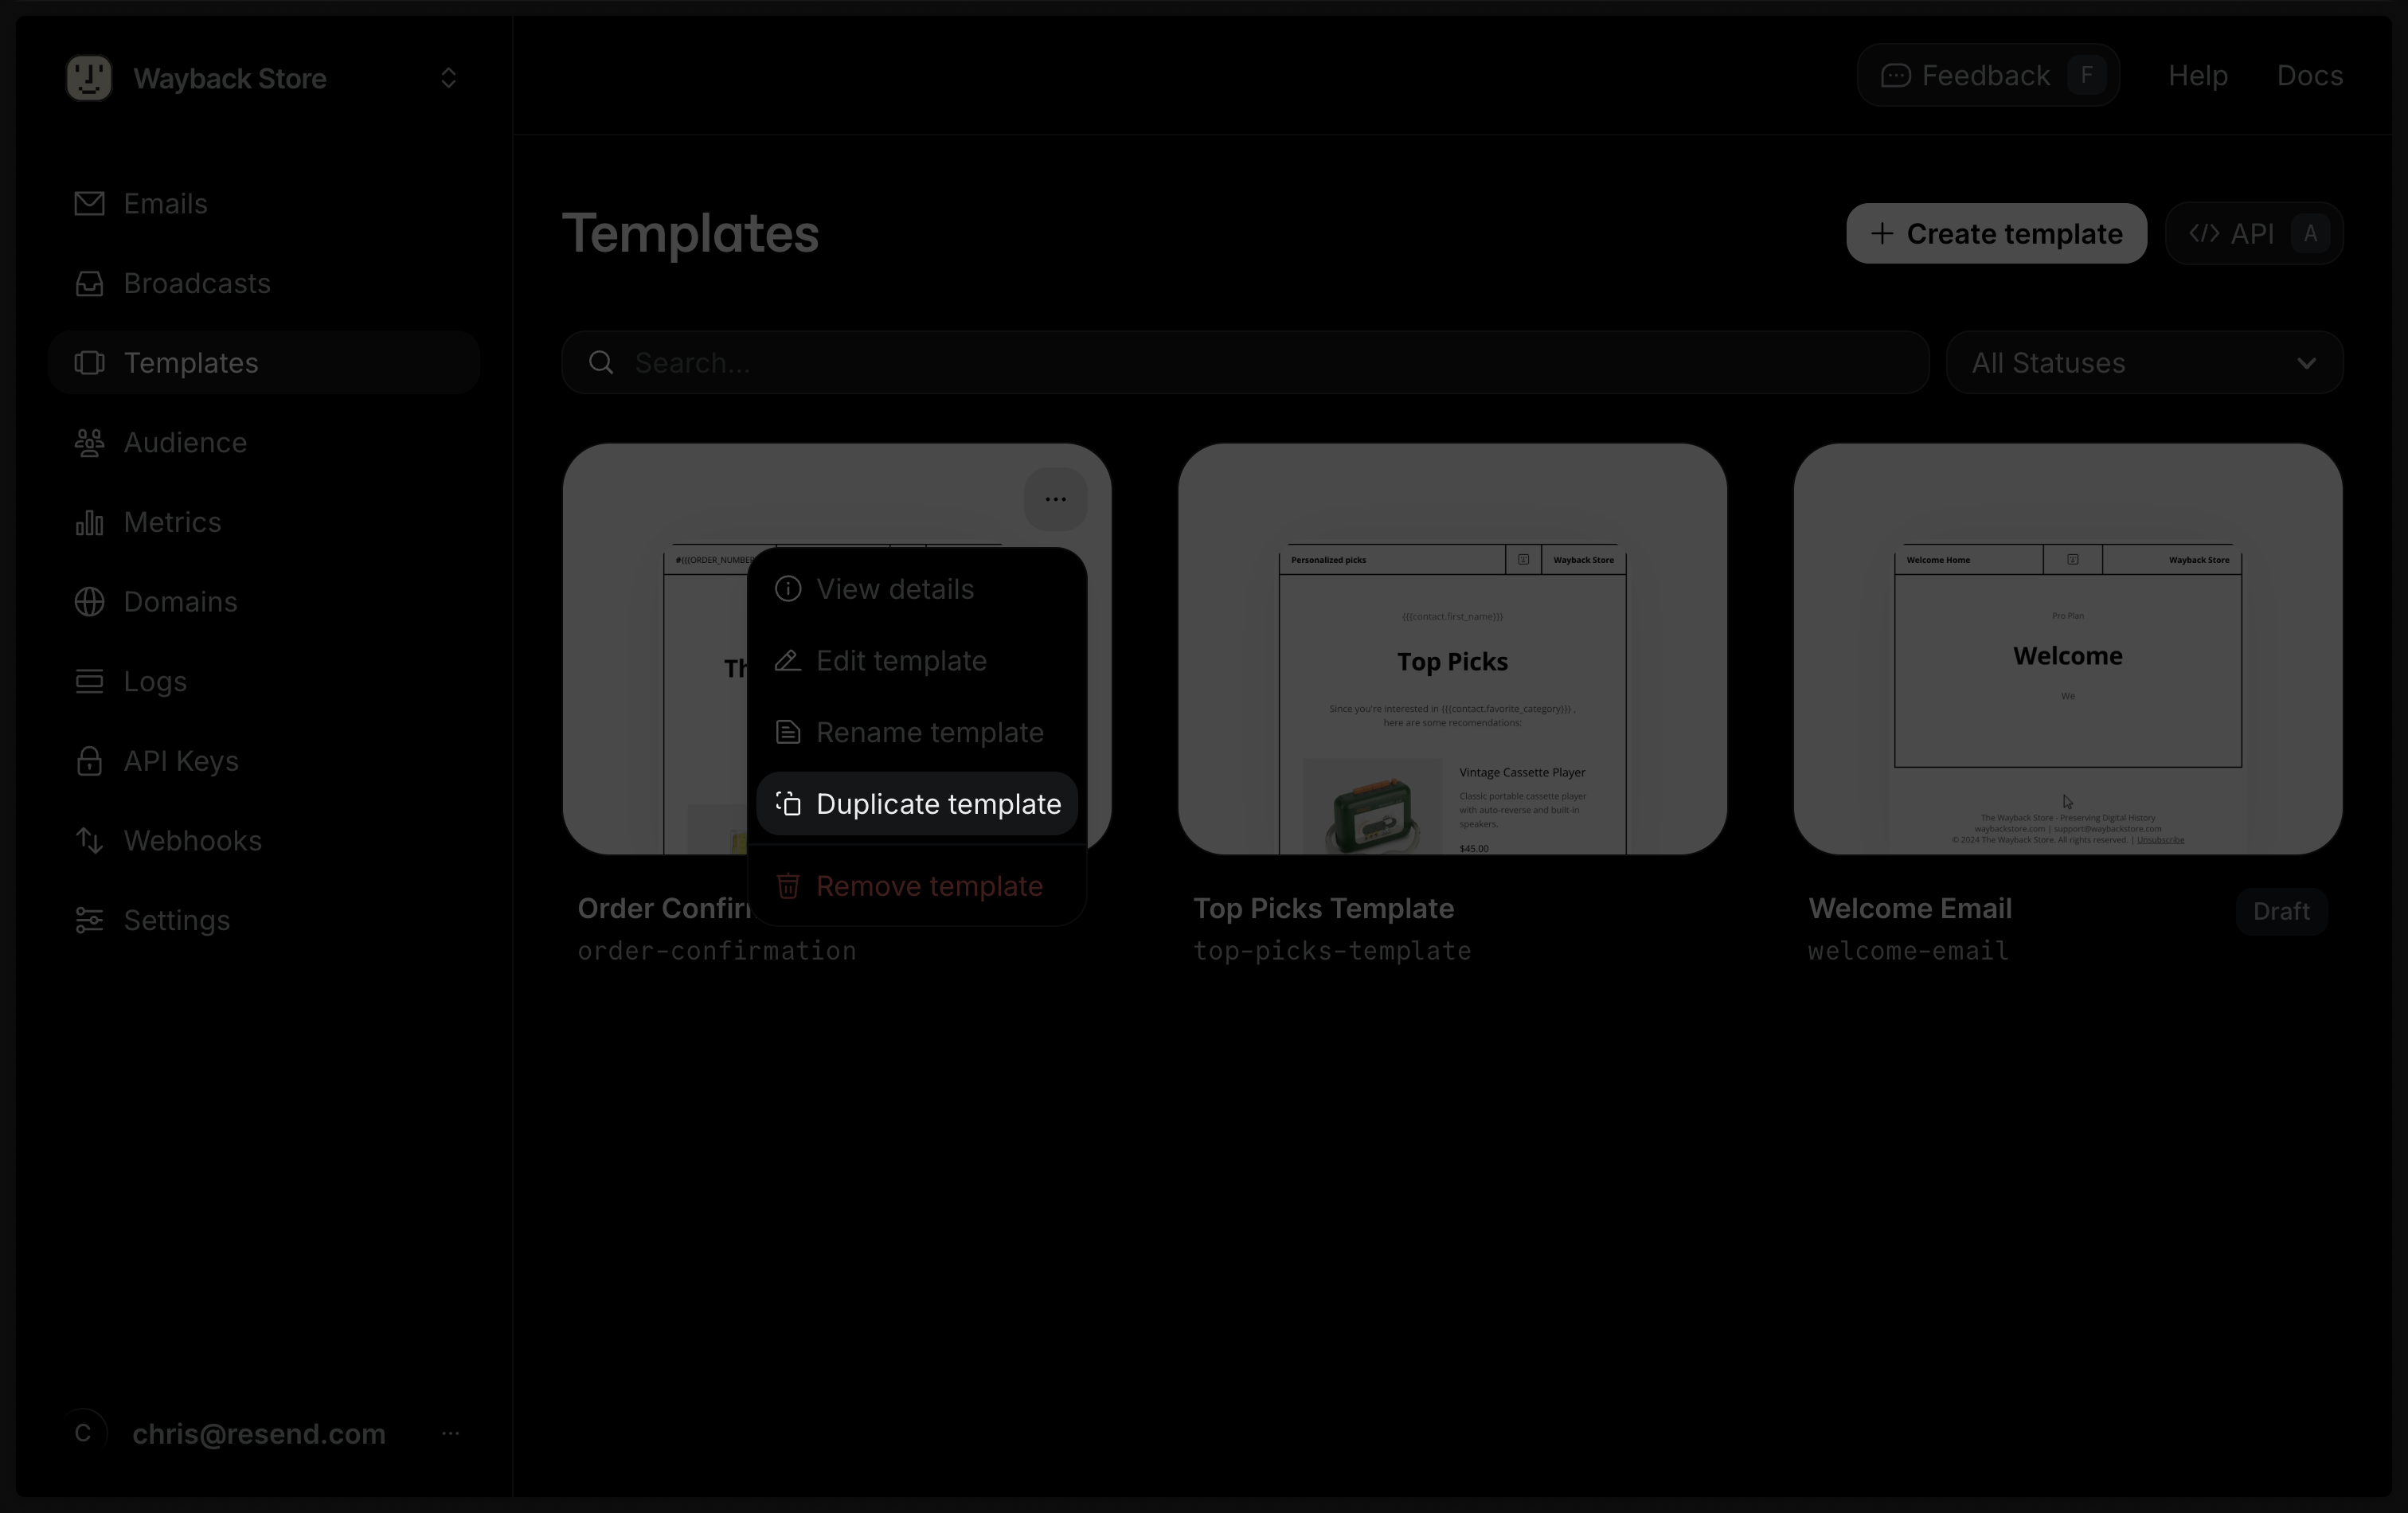 ## Clone a Broadcast
You can turn any sent [Broadcast](/docs/dashboard/broadcasts/introduction) into a reusable Template. Cloning reuses a Broadcast's design and content as a starting point for transactional emails.
Locate your desired Broadcast in the [Broadcast dashboard](https://resend.com/broadcasts), click the more options button
## Clone a Broadcast
You can turn any sent [Broadcast](/docs/dashboard/broadcasts/introduction) into a reusable Template. Cloning reuses a Broadcast's design and content as a starting point for transactional emails.
Locate your desired Broadcast in the [Broadcast dashboard](https://resend.com/broadcasts), click the more options button 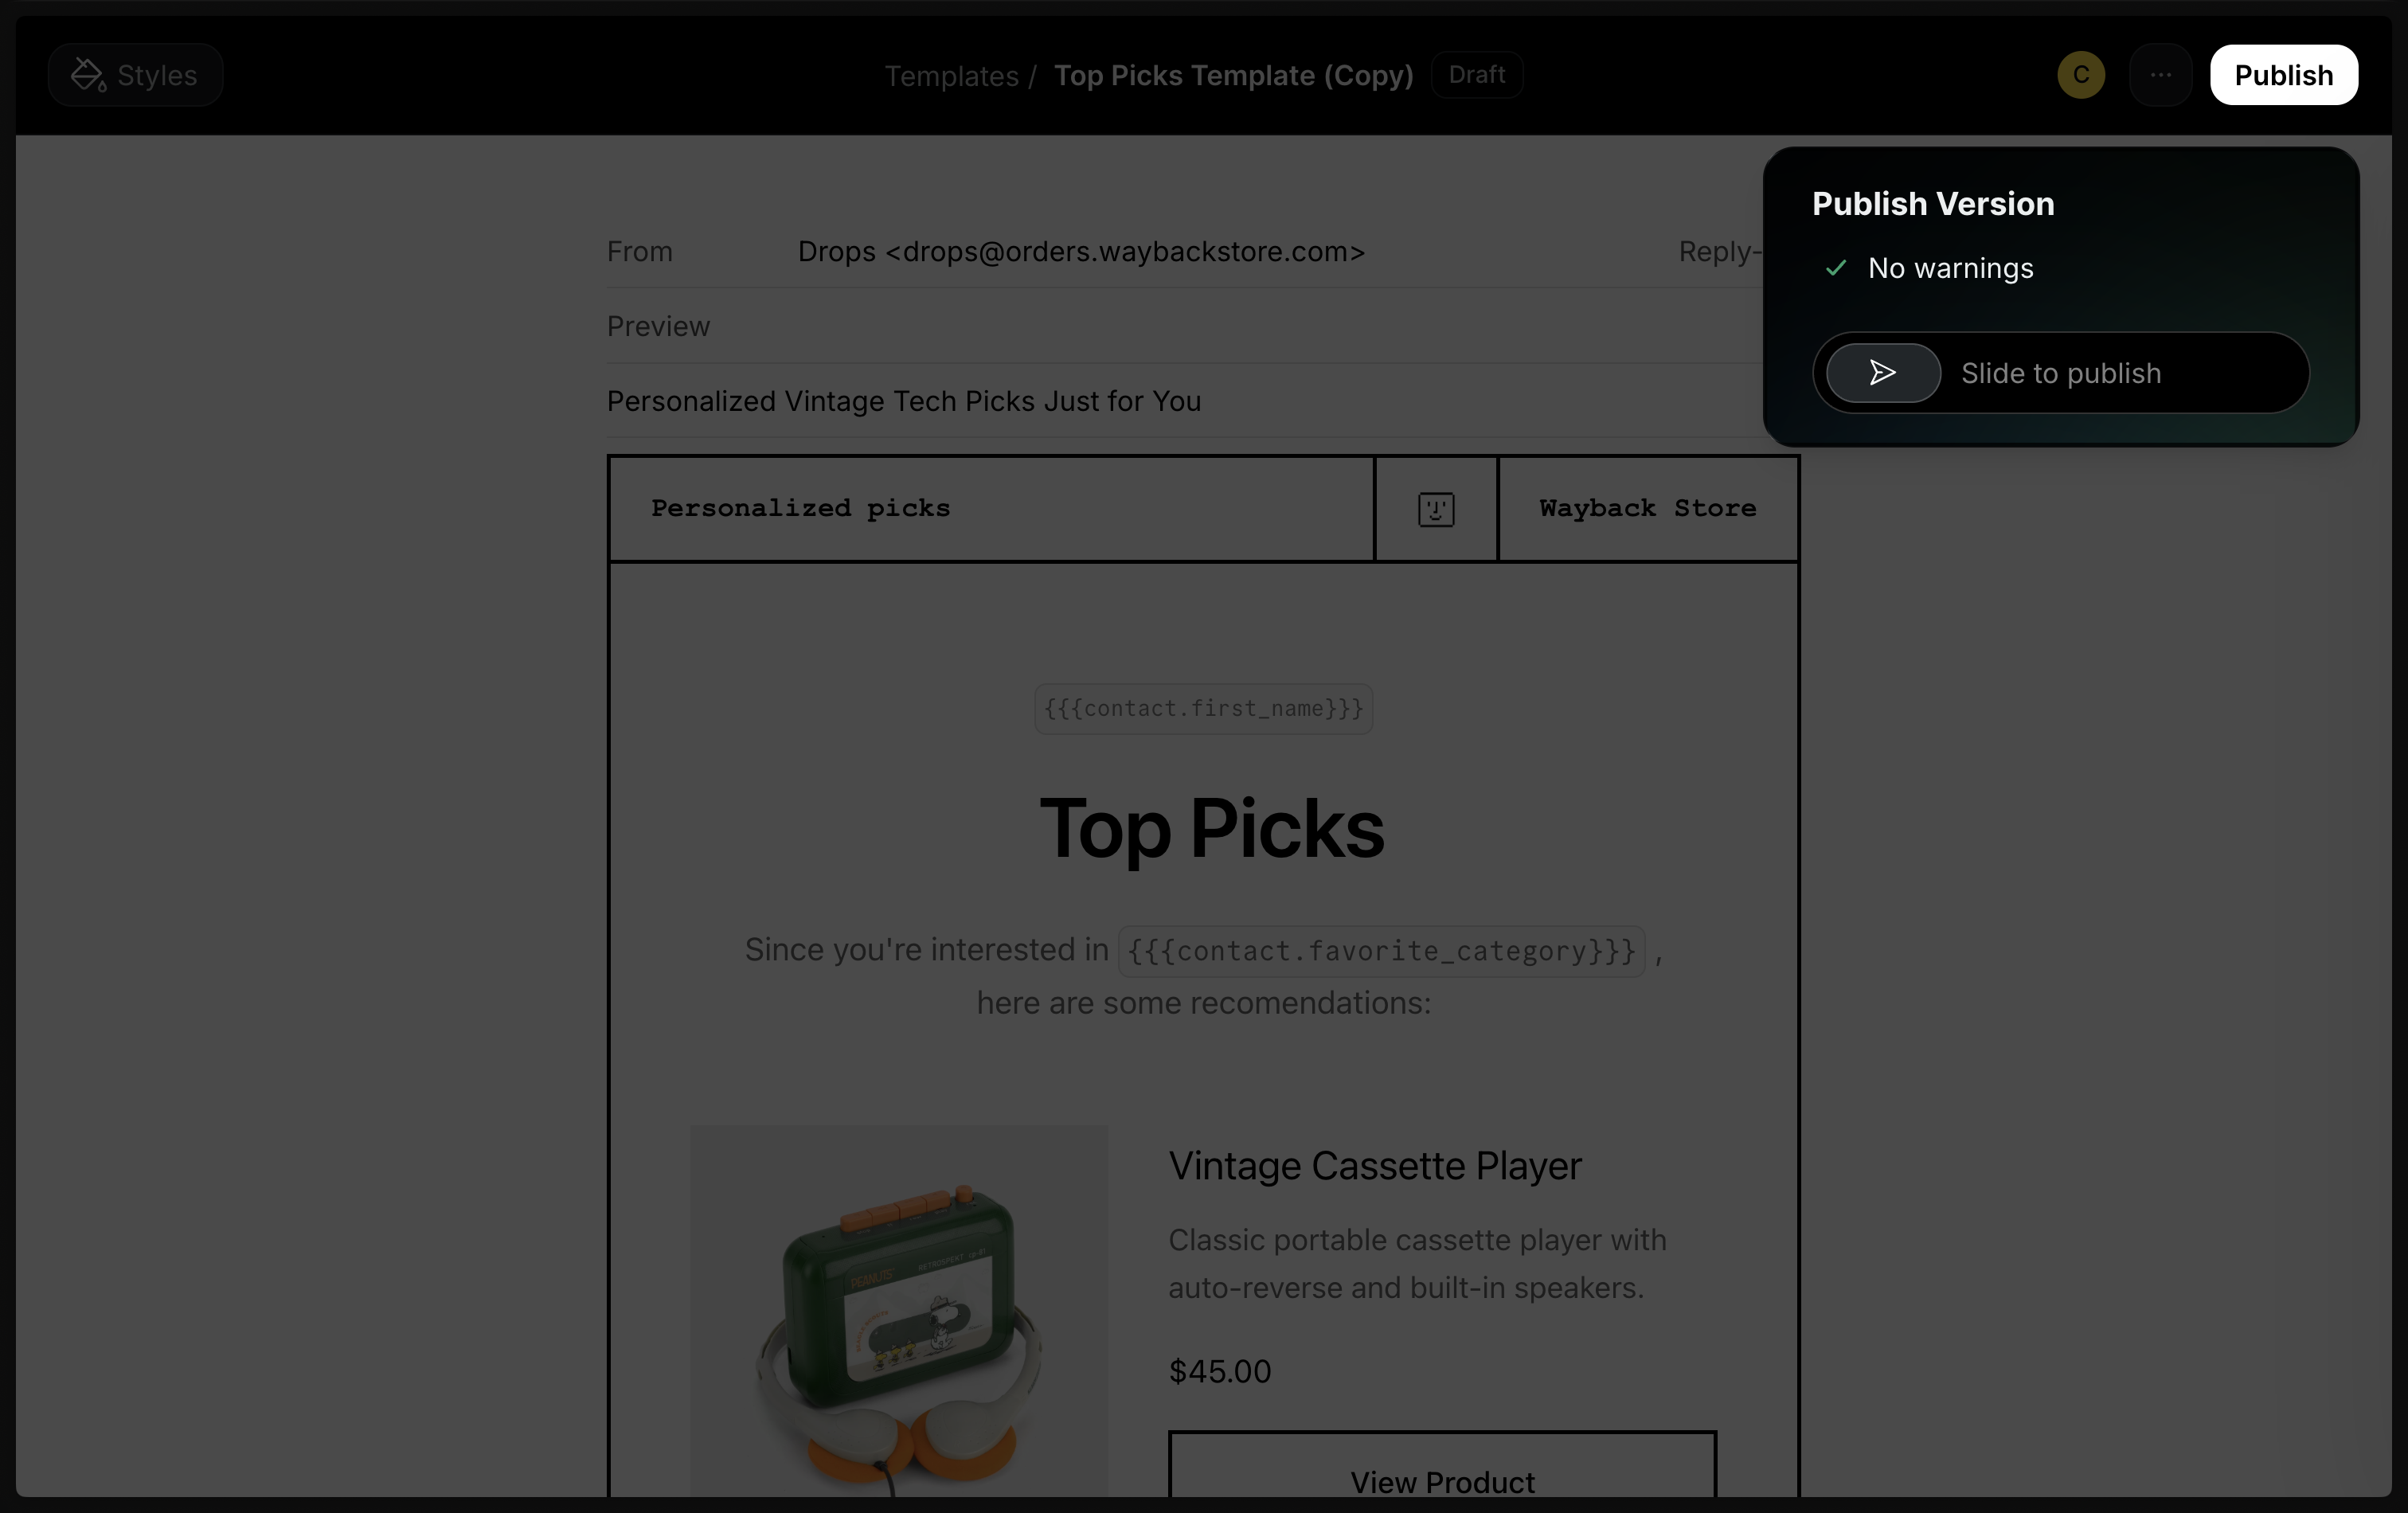 For a more streamlined flow in your application, you can create and publish a Template in a single step.
```ts Node.js theme={"theme":{"light":"github-light","dark":"vesper"}}
await resend.templates.create({ ... }).publish();
```
## Edit a Template
You can only send emails using the most recently published version of a Template. Once a Template is published, you can continue to edit it as a draft without impacting any emails sent using the Template.
To use an updated version of your Template, you must publish your Template again to create a new version for sending. Until you republish, any edits are only saved in draft form. After you publish a new version, your changes will then be reflected in any future emails using the Template.
[Learn more about editing Templates in production safely with version history](/docs/dashboard/templates/version-history).
## Delete a Template
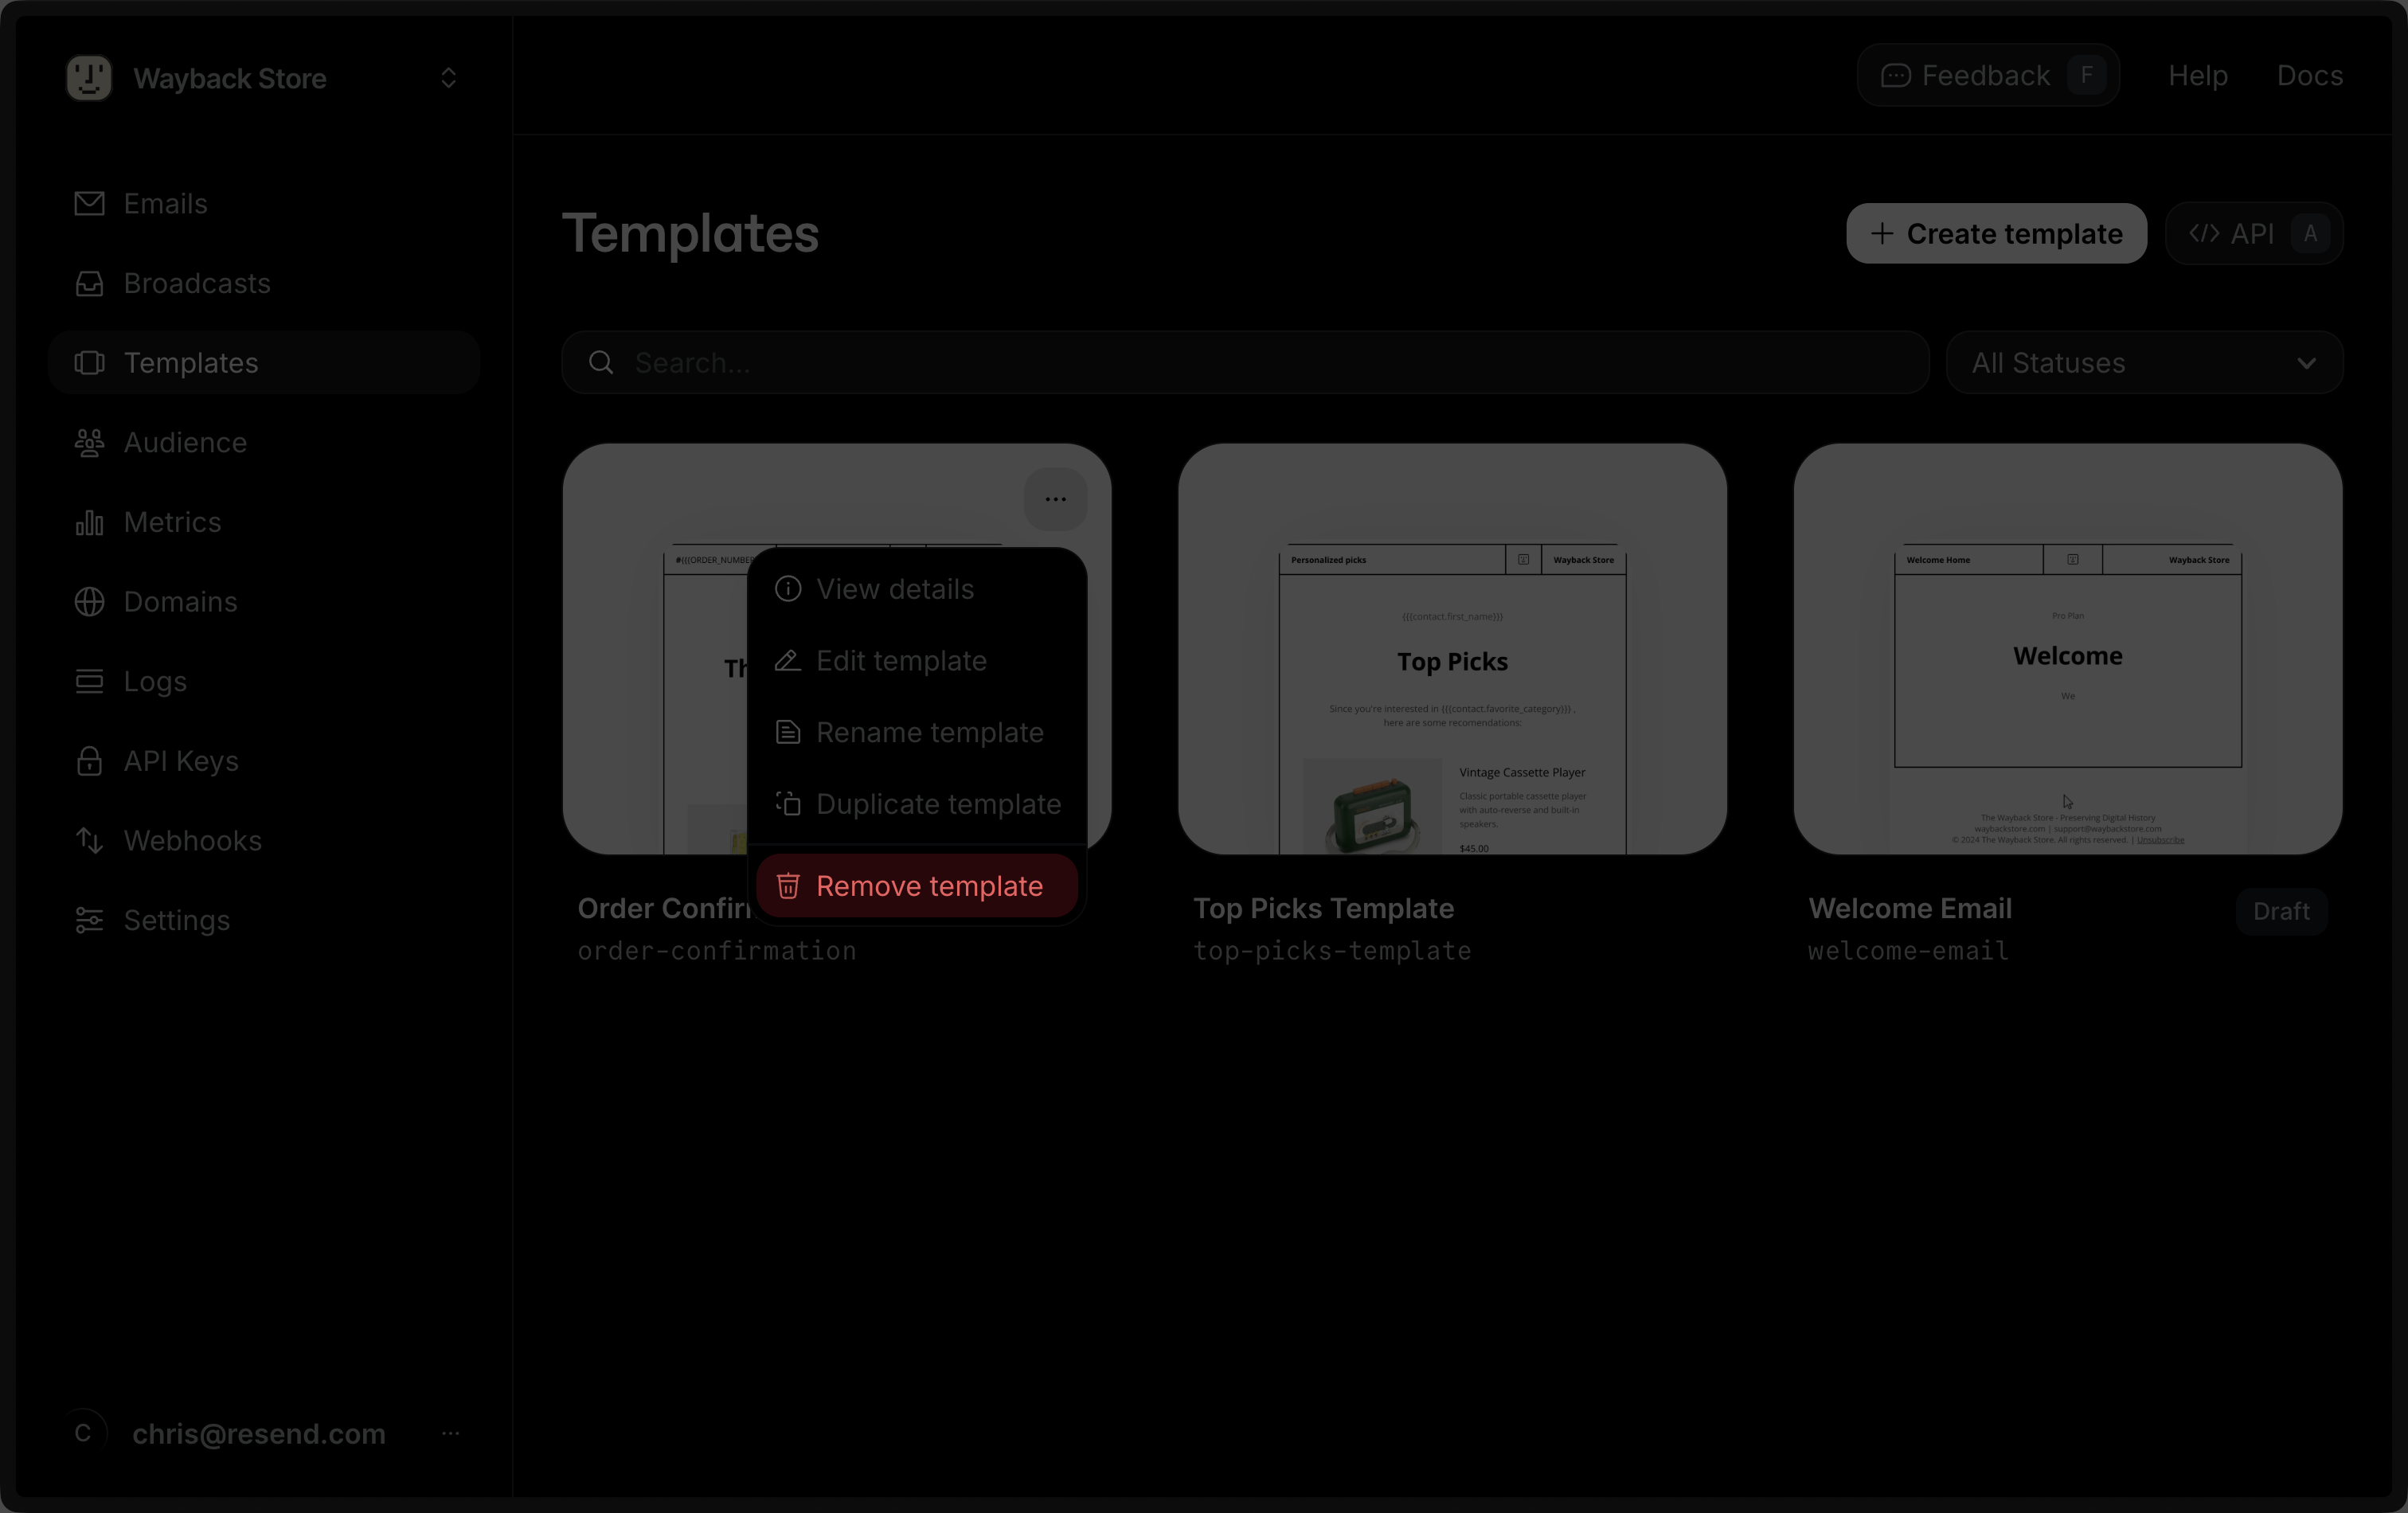
You can delete a Template via the Dashboard by clicking on the **Delete** button, [via the Templates API](/docs/api-reference/templates/delete-template), or with a [Templates CLI command](/docs/cli#templates).
For a more streamlined flow in your application, you can create and publish a Template in a single step.
```ts Node.js theme={"theme":{"light":"github-light","dark":"vesper"}}
await resend.templates.create({ ... }).publish();
```
## Edit a Template
You can only send emails using the most recently published version of a Template. Once a Template is published, you can continue to edit it as a draft without impacting any emails sent using the Template.
To use an updated version of your Template, you must publish your Template again to create a new version for sending. Until you republish, any edits are only saved in draft form. After you publish a new version, your changes will then be reflected in any future emails using the Template.
[Learn more about editing Templates in production safely with version history](/docs/dashboard/templates/version-history).
## Delete a Template
You can delete a Template via the Dashboard by clicking on the **Delete** button, [via the Templates API](/docs/api-reference/templates/delete-template), or with a [Templates CLI command](/docs/cli#templates).
 ## API Reference
For complete API documentation, see the [Templates API reference](/docs/api-reference/templates/create-template) and the [`template` parameter of the Sending API](/docs/api-reference/emails/send-email#param-template).
## API Reference
For complete API documentation, see the [Templates API reference](/docs/api-reference/templates/create-template) and the [`template` parameter of the Sending API](/docs/api-reference/emails/send-email#param-template).