> ## Documentation Index
> Fetch the complete documentation index at: https://resend.com/docs/llms.txt
> Use this file to discover all available pages before exploring further.
# Create an API key
> Get started sending emails by creating an API key
## What is an API Key?
API Keys are secret tokens used to authenticate your requests. They are unique to your account and should be kept confidential.
You must create at least one API key to use the Resend platform through code (e.g., SDKs, API, command-line interface (CLI), or AI tools).
## Create an API Key
You can create API keys in four ways:
* in the [**API keys** Dashboard page](/dashboard/api-keys/introduction)
* using the [Resend API](/api-reference/api-keys/create-api-key)
* with a [Resend CLI command](/cli#apikeys)
* with the [Resend MCP server](/mcp-server)
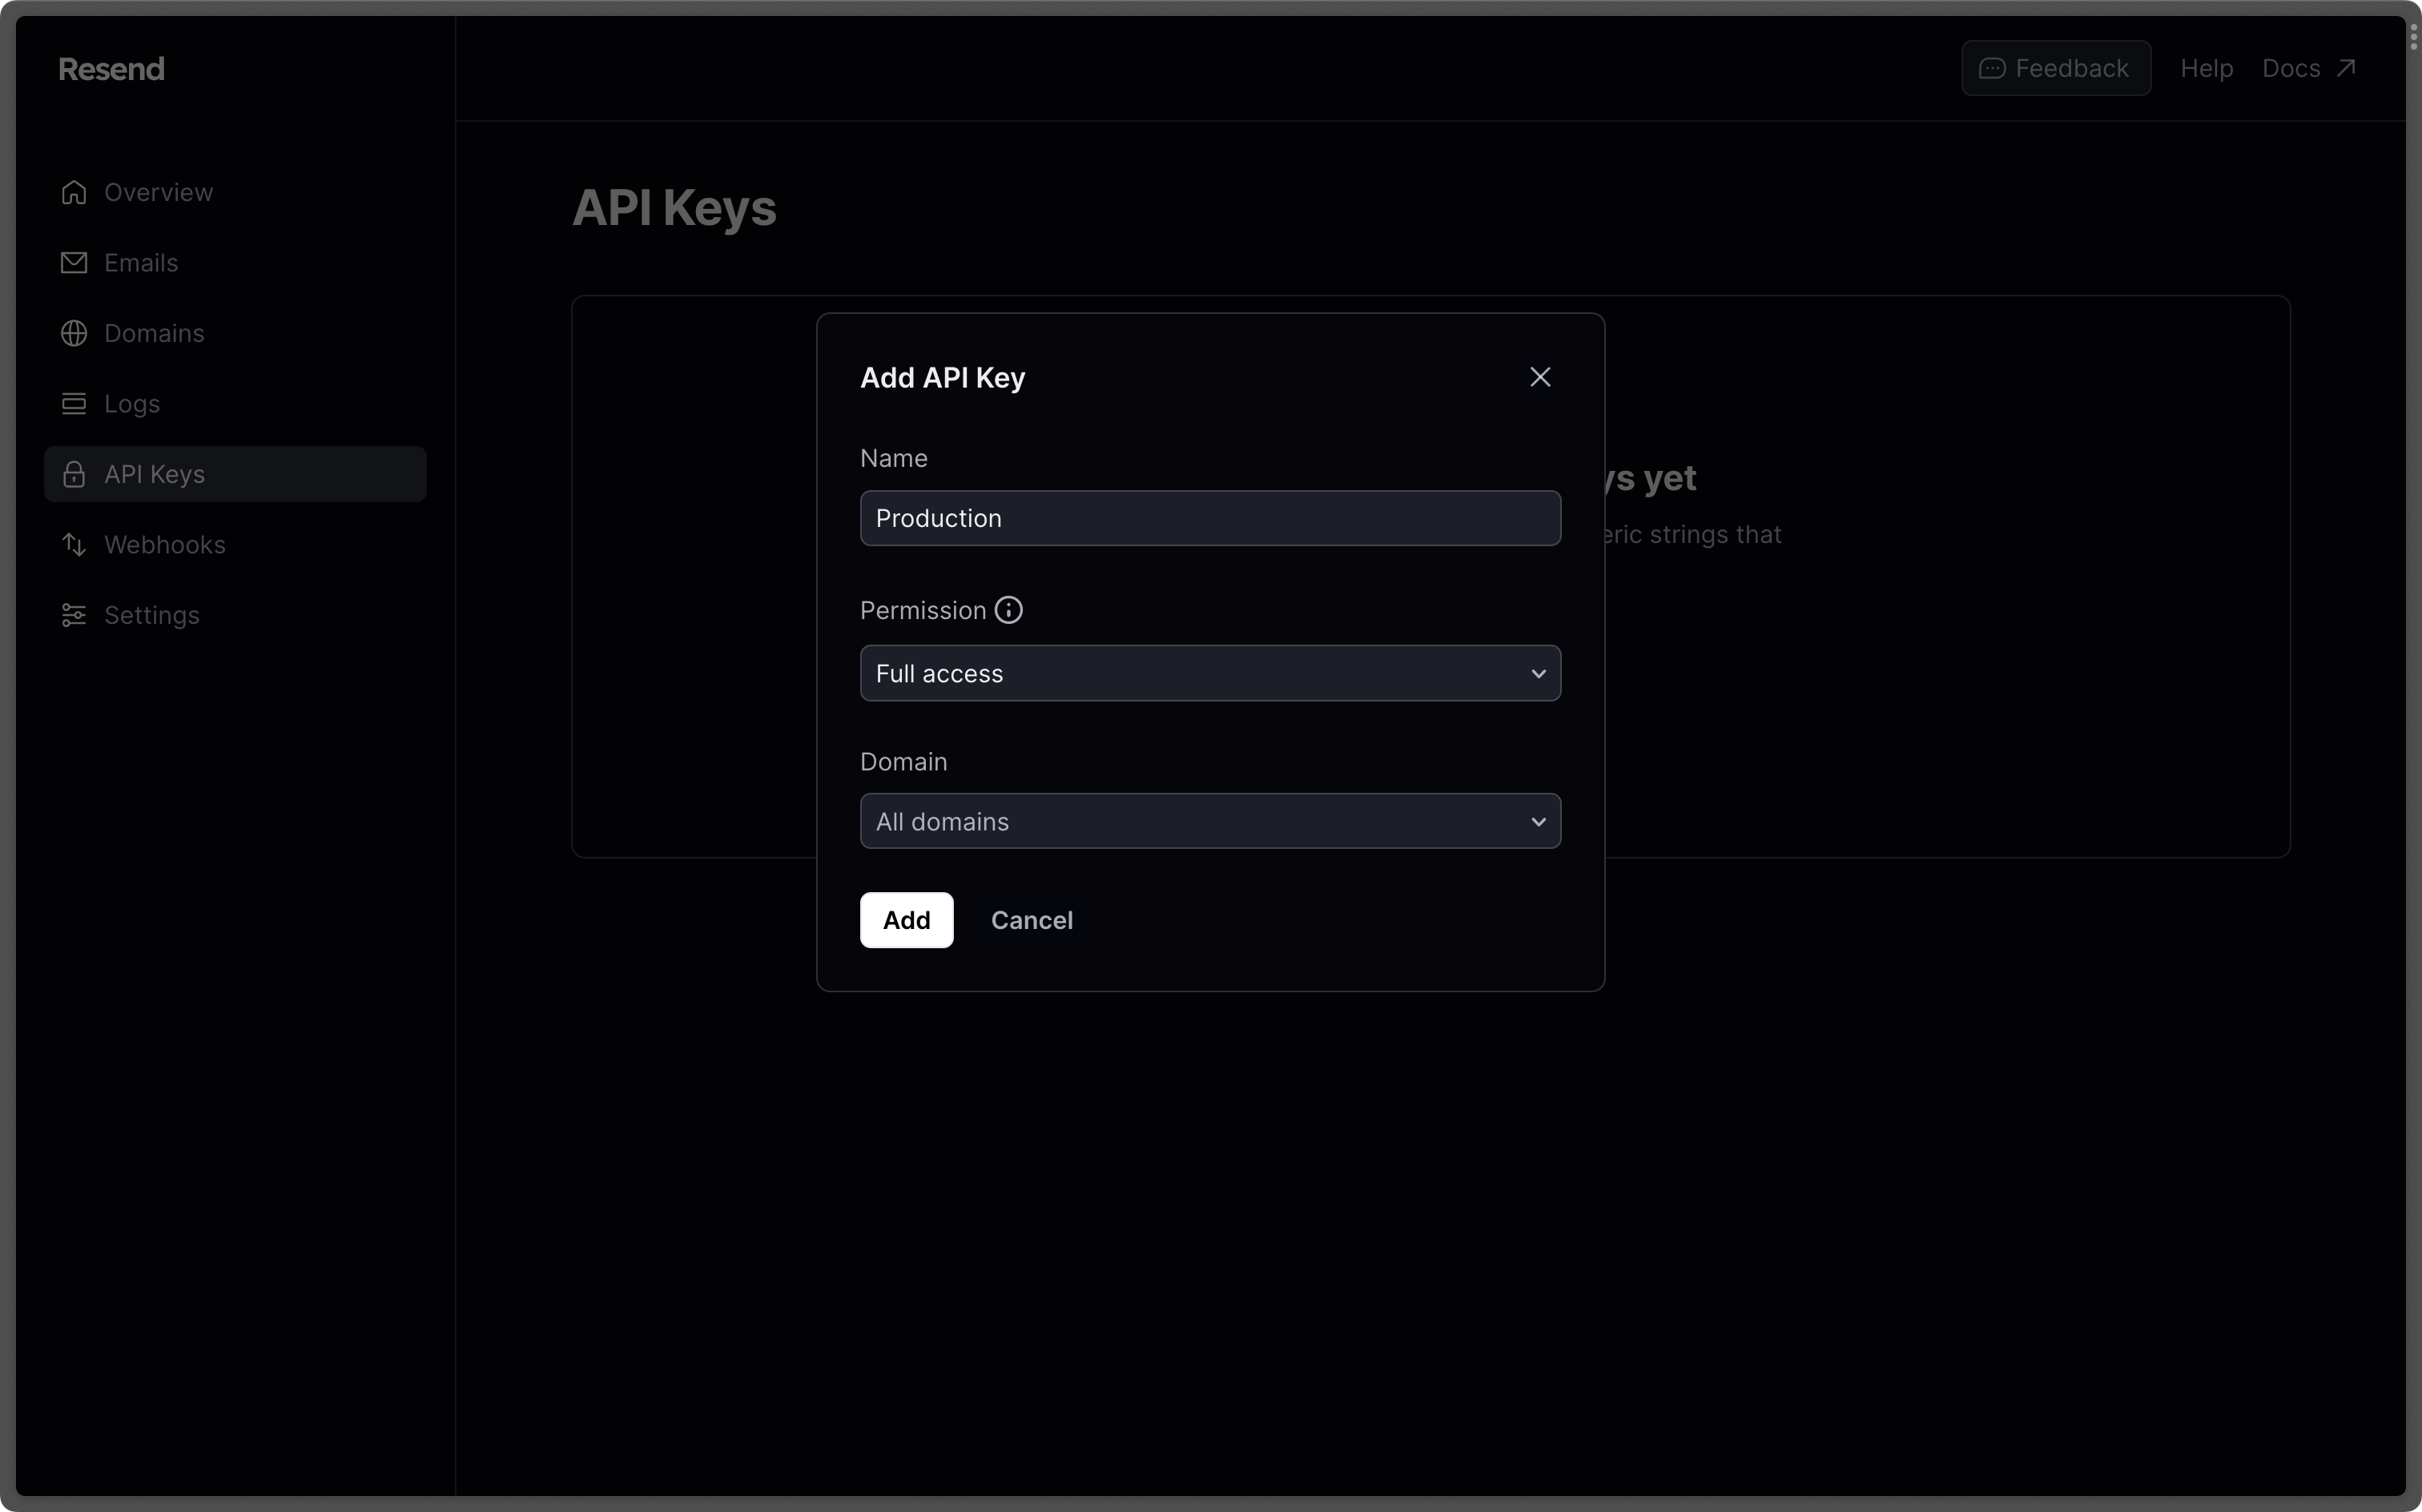
To create a new API Key from the Resend Dashboard:
Choose a name (maximum 50 characters) to identify your key.
Choose **"Sending access"** to grant access to only sending emails unless your key needs full access to Resend’s API to create, delete, get, and update any resource.
This [API key permission](/api-reference/api-keys/create-api-key#param-permission) can be updated at any time.
If you selected **"Sending access"**, you can further choose the domain you want to restrict access to.
 For security reasons, you can only view the API Key once. Learn more about
[API key best practices](/knowledge-base/how-to-handle-api-keys).
## Use the API key in your code
Authenticate your requests by adding your Resend API key to your project as an environment variable.
You can check the [quickstart guides](/introduction) or [AI builder guides](/ai-onboarding#ai-builder-guides) for specific examples of passing your API key to your project.
Store your API key as an environment variable in your project. This is commonly done inside a special file or configuration panel and will depend on your language, framework, or development platform.
For example, Node.js projects commonly store both public and secret variables in a `.env` file at the root of your project:
```sh .env theme={"theme":{"light":"github-light","dark":"vesper"}}
RESEND_API_KEY=re_xxxxxxxxx
```
If you are storing your secrets in a project file, you may need to add this file to your `.gitignore` file to prevent it from being committed to version control.
Many frameworks add `.env` to the `.gitignore` file by default, so this may already exist.
```ts .gitignore theme={"theme":{"light":"github-light","dark":"vesper"}}
.env
```
Your project environment variables are not automatically available to Resend. You must explicitly pass your API key value to your Resend code.
For example, whenever you create a new Resend instance in a Node.js project, you must pass the environment variable on `process.env`:
```ts app.ts theme={"theme":{"light":"github-light","dark":"vesper"}}
const resend = new Resend(process.env.RESEND_API_KEY);
```
On Node.js `v20` and later, you can pass your `.env` file's variables to your script using the `--env-file=.env` flag. Alternatively, you can use the `dotenv` package to load the variables.
## Learn more
View, create, edit, delete, and manage your API keys.
Learn about best practices for managing your API keys.
## Next steps
Add and verify a domain you own to start sending emails.
Send your first transactional email with a quick tutorial for your language
or framework.
For security reasons, you can only view the API Key once. Learn more about
[API key best practices](/knowledge-base/how-to-handle-api-keys).
## Use the API key in your code
Authenticate your requests by adding your Resend API key to your project as an environment variable.
You can check the [quickstart guides](/introduction) or [AI builder guides](/ai-onboarding#ai-builder-guides) for specific examples of passing your API key to your project.
Store your API key as an environment variable in your project. This is commonly done inside a special file or configuration panel and will depend on your language, framework, or development platform.
For example, Node.js projects commonly store both public and secret variables in a `.env` file at the root of your project:
```sh .env theme={"theme":{"light":"github-light","dark":"vesper"}}
RESEND_API_KEY=re_xxxxxxxxx
```
If you are storing your secrets in a project file, you may need to add this file to your `.gitignore` file to prevent it from being committed to version control.
Many frameworks add `.env` to the `.gitignore` file by default, so this may already exist.
```ts .gitignore theme={"theme":{"light":"github-light","dark":"vesper"}}
.env
```
Your project environment variables are not automatically available to Resend. You must explicitly pass your API key value to your Resend code.
For example, whenever you create a new Resend instance in a Node.js project, you must pass the environment variable on `process.env`:
```ts app.ts theme={"theme":{"light":"github-light","dark":"vesper"}}
const resend = new Resend(process.env.RESEND_API_KEY);
```
On Node.js `v20` and later, you can pass your `.env` file's variables to your script using the `--env-file=.env` flag. Alternatively, you can use the `dotenv` package to load the variables.
## Learn more
View, create, edit, delete, and manage your API keys.
Learn about best practices for managing your API keys.
## Next steps
Add and verify a domain you own to start sending emails.
Send your first transactional email with a quick tutorial for your language
or framework.